Prevention is better than cure: How to inspect your motorcycle brake system
May 1, 2022
Beyond the bike
We take motorcycle brakes for granted right up to the point where they stop working. Yet, look after your brakes, and they'll look after you. So with this in mind, let's take a look at how to inspect your motorcycle brake system.
Disc brakes are a combination of mechanical, hydraulic and consumable parts. It only takes a failure in one of these areas, and you're in trouble. The good news is, though, the only tool you'll need to inspect the brakes is a torch.
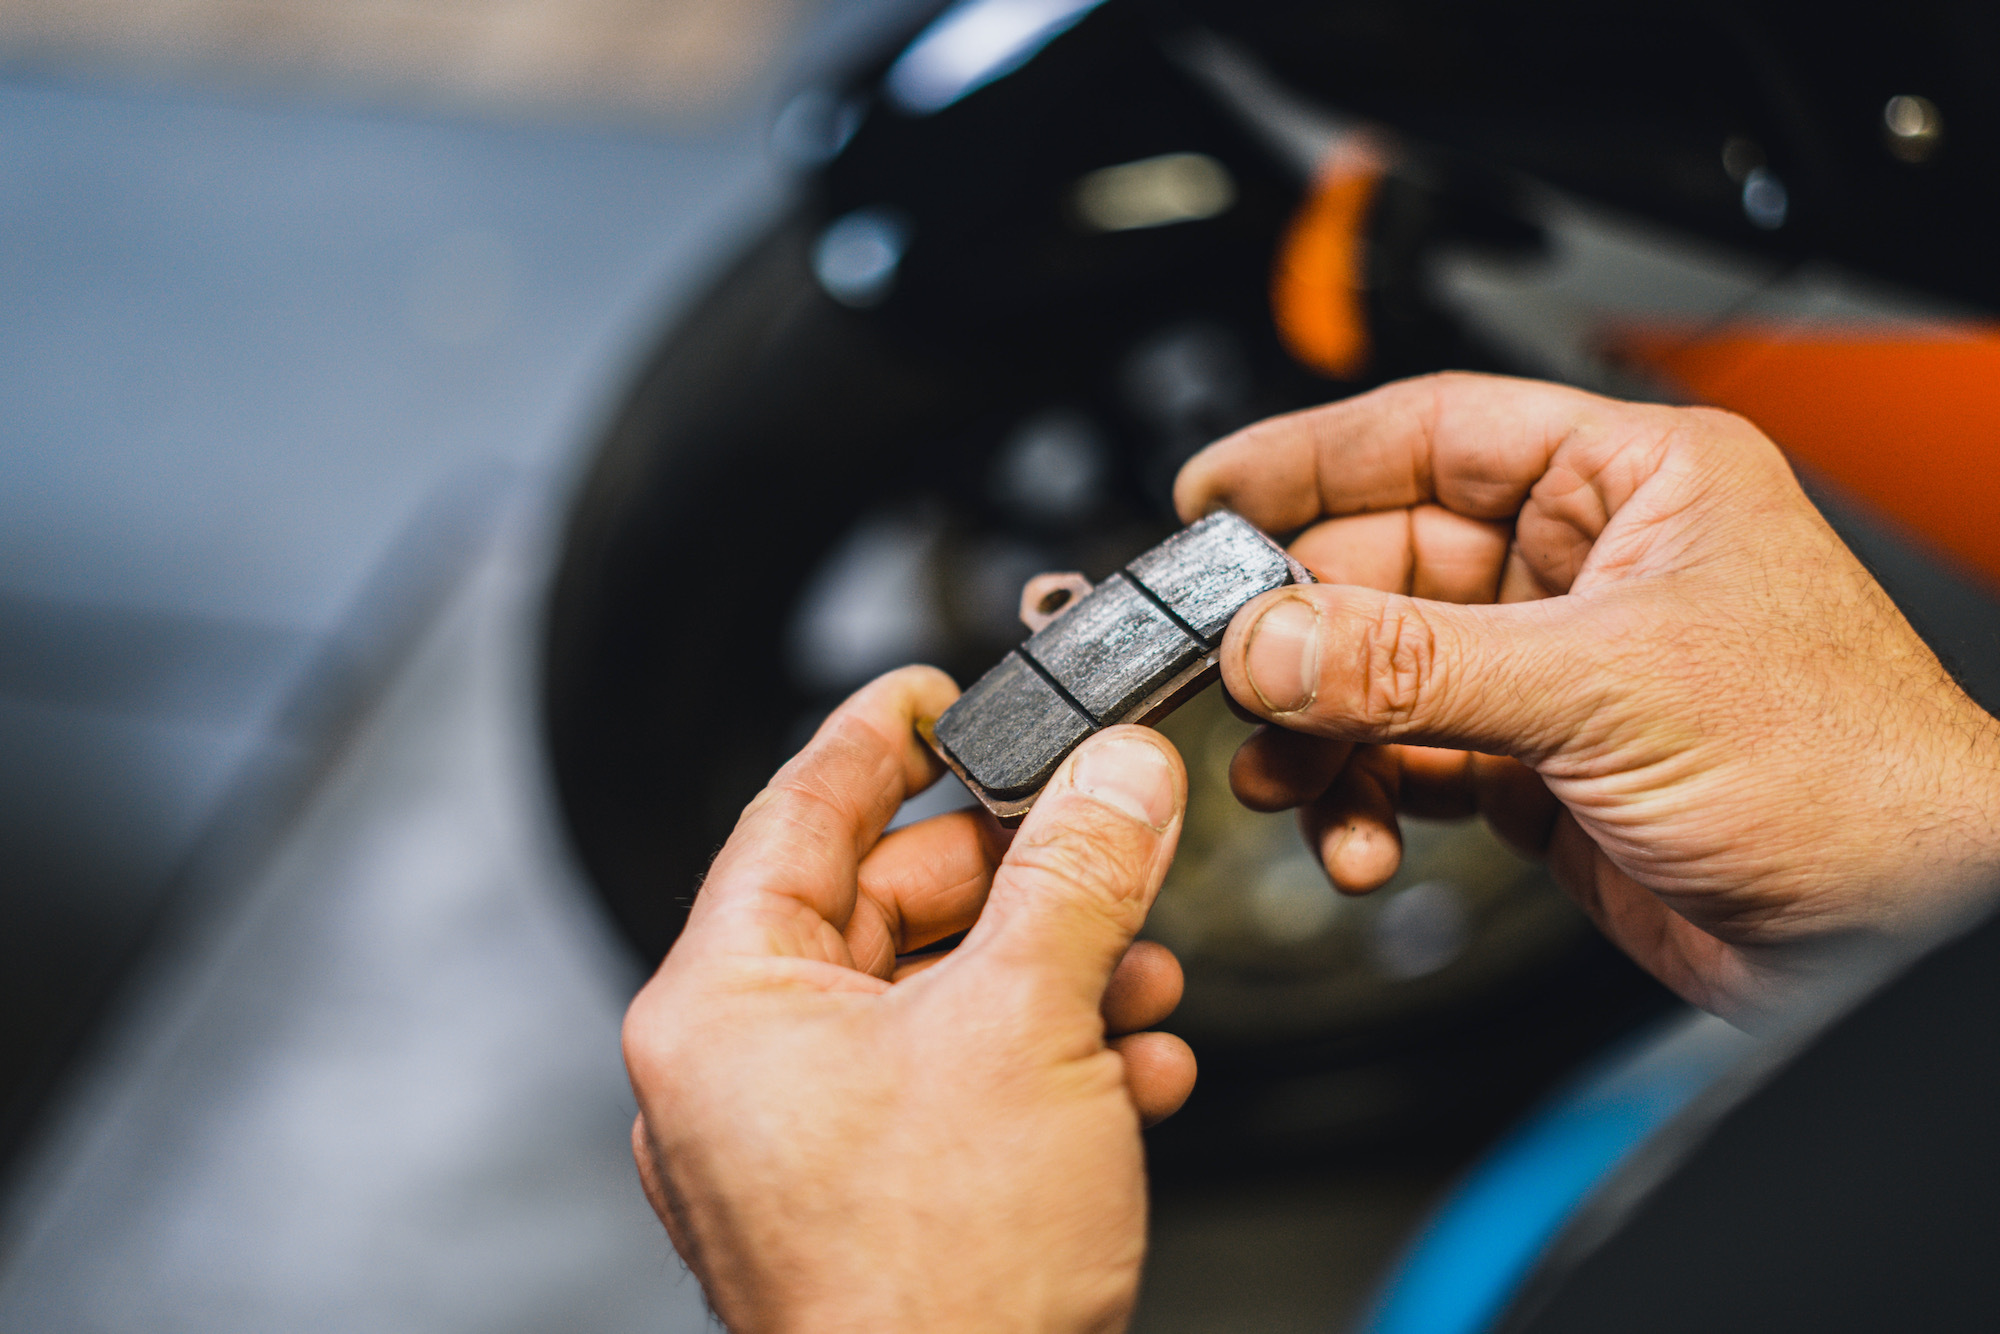
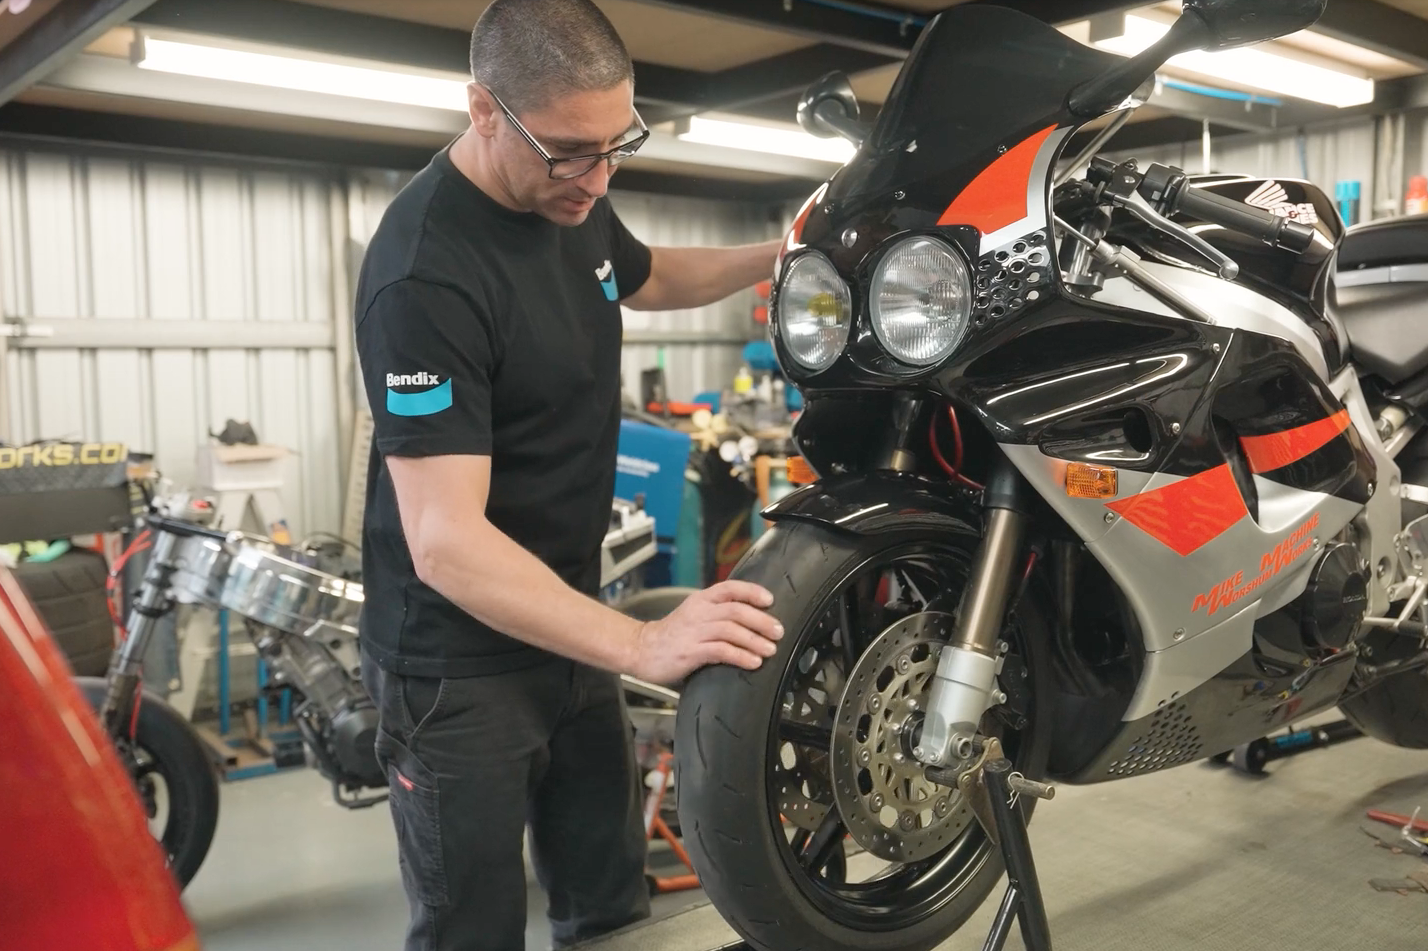
You may have an inspection cover on top of the calliper or need to do some manoeuvring to find the best view. Either way, shine your torch into the calliper to see how much material remains on the pads.
There should be around 1.5-2mm of pad material as a bare minimum. But, of course, if you already have a pair of Bendix Moto brake pads performing stopping duties, there's no guesswork involved.
The pads feature wear grooves and when the pad material is worn enough for the grooves to almost disappear, it's time for a change.
When the time comes to replace the pads, Bendix Moto makes choosing easy, offering two types of brake pads. For commuters, scooters, lightweight or classic bikes, check out Bendix Ultimate+ ceramic pads have low dust, noise and wear, but have increased feel at low and moderate speeds.
Heavy-duty cruisers, tourers, sports and dirt bikes need the Bendix Street Road Track (SRT) pads. These sintered pads can handle wet, dry, hot, cold or muddy conditions. In addition, they are stable, strong, low-fade performance.
It's also worth noting that Bendix brake pads conform to SAE and ISO international safety standards. So if your motorcycle is under the manufacturer's warranty, when using Bendix brake pads, you won't have to worry about the warranty becoming void.
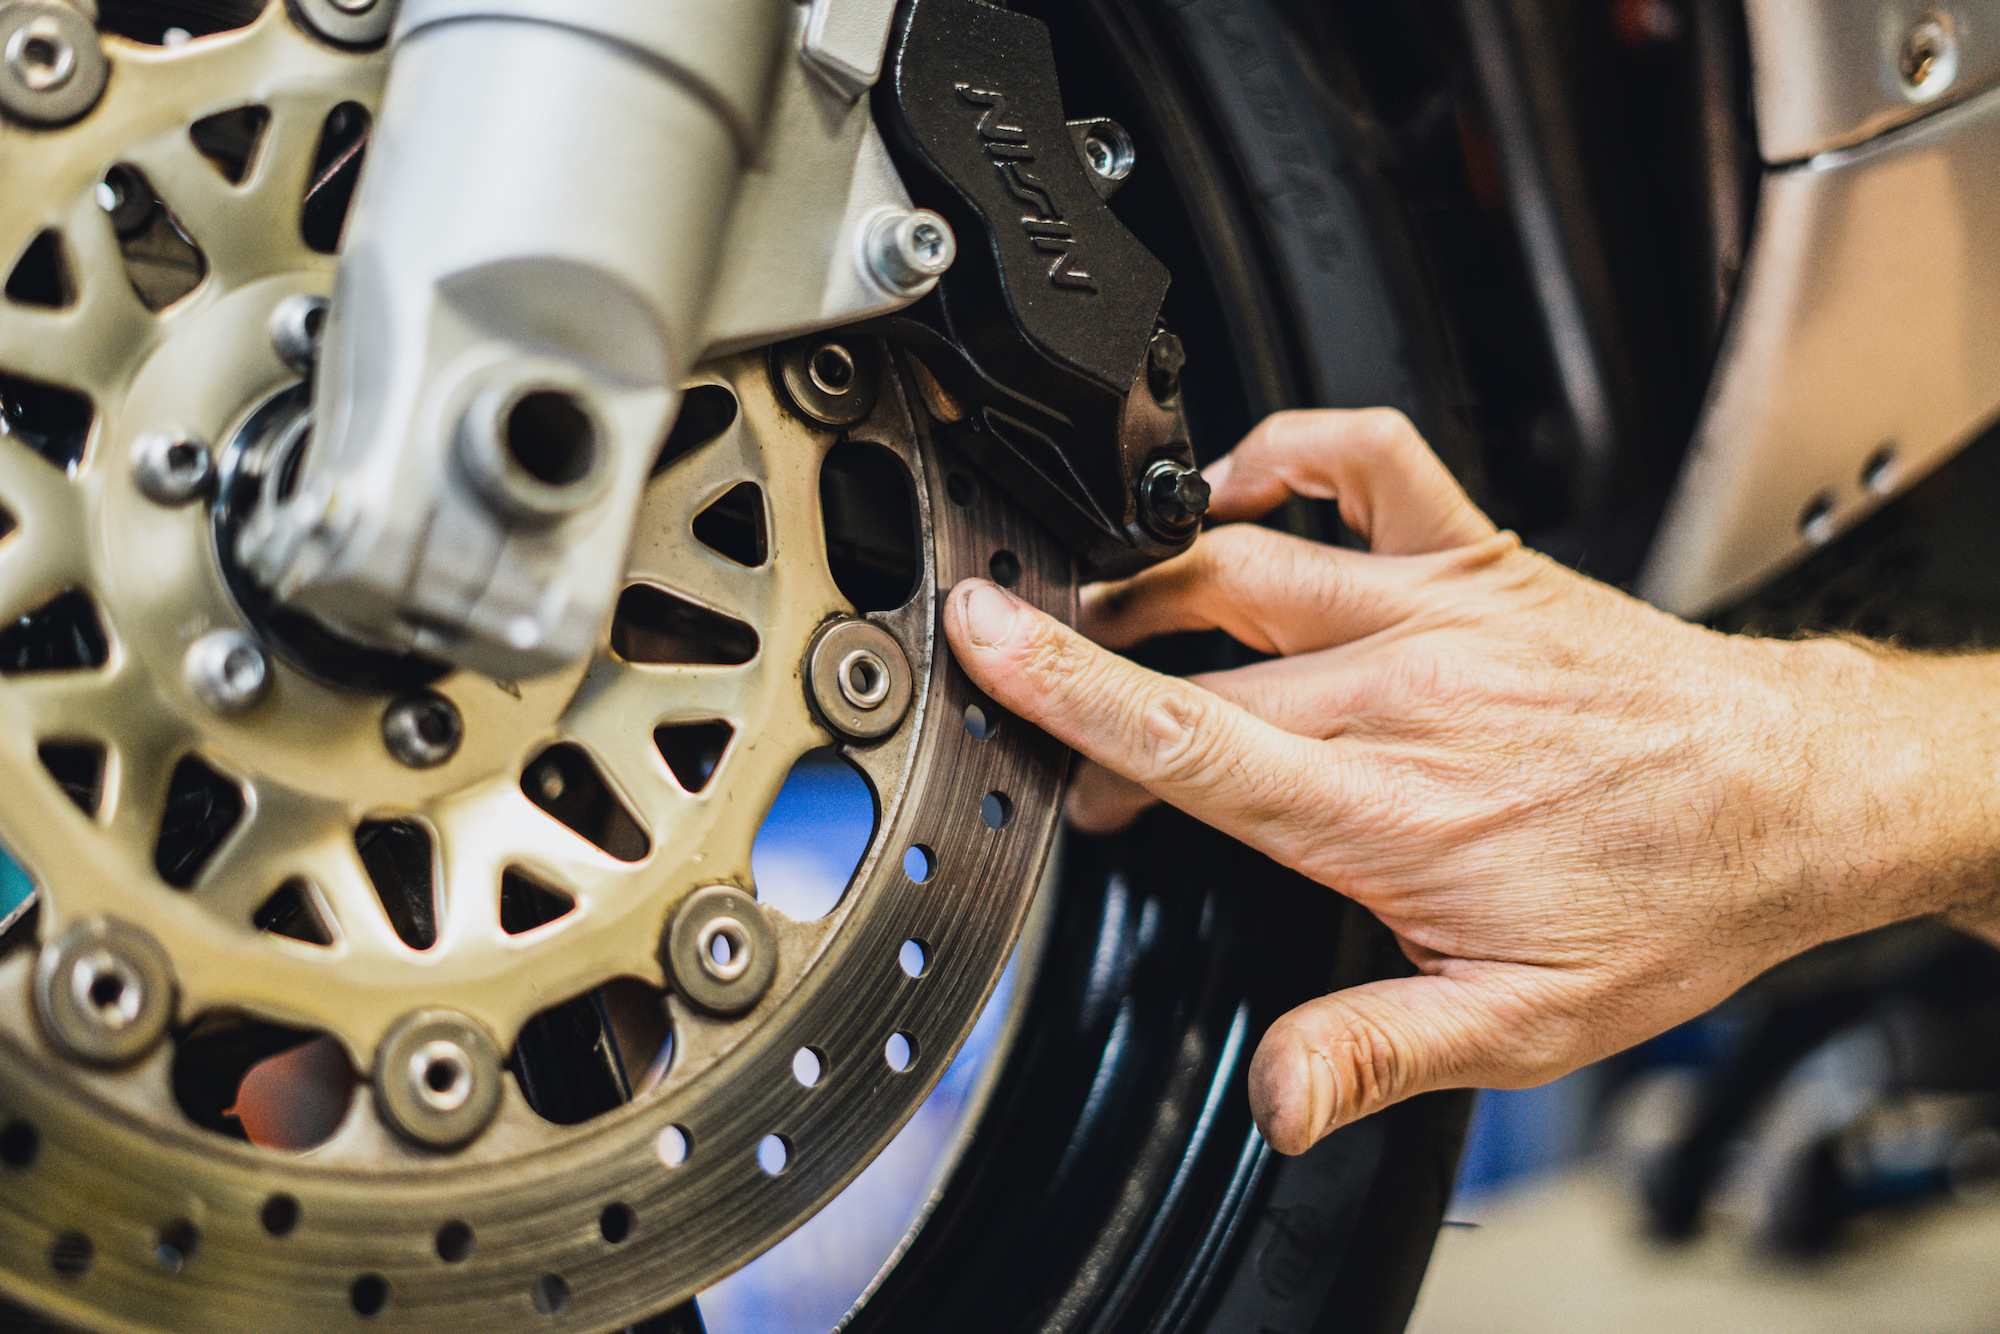
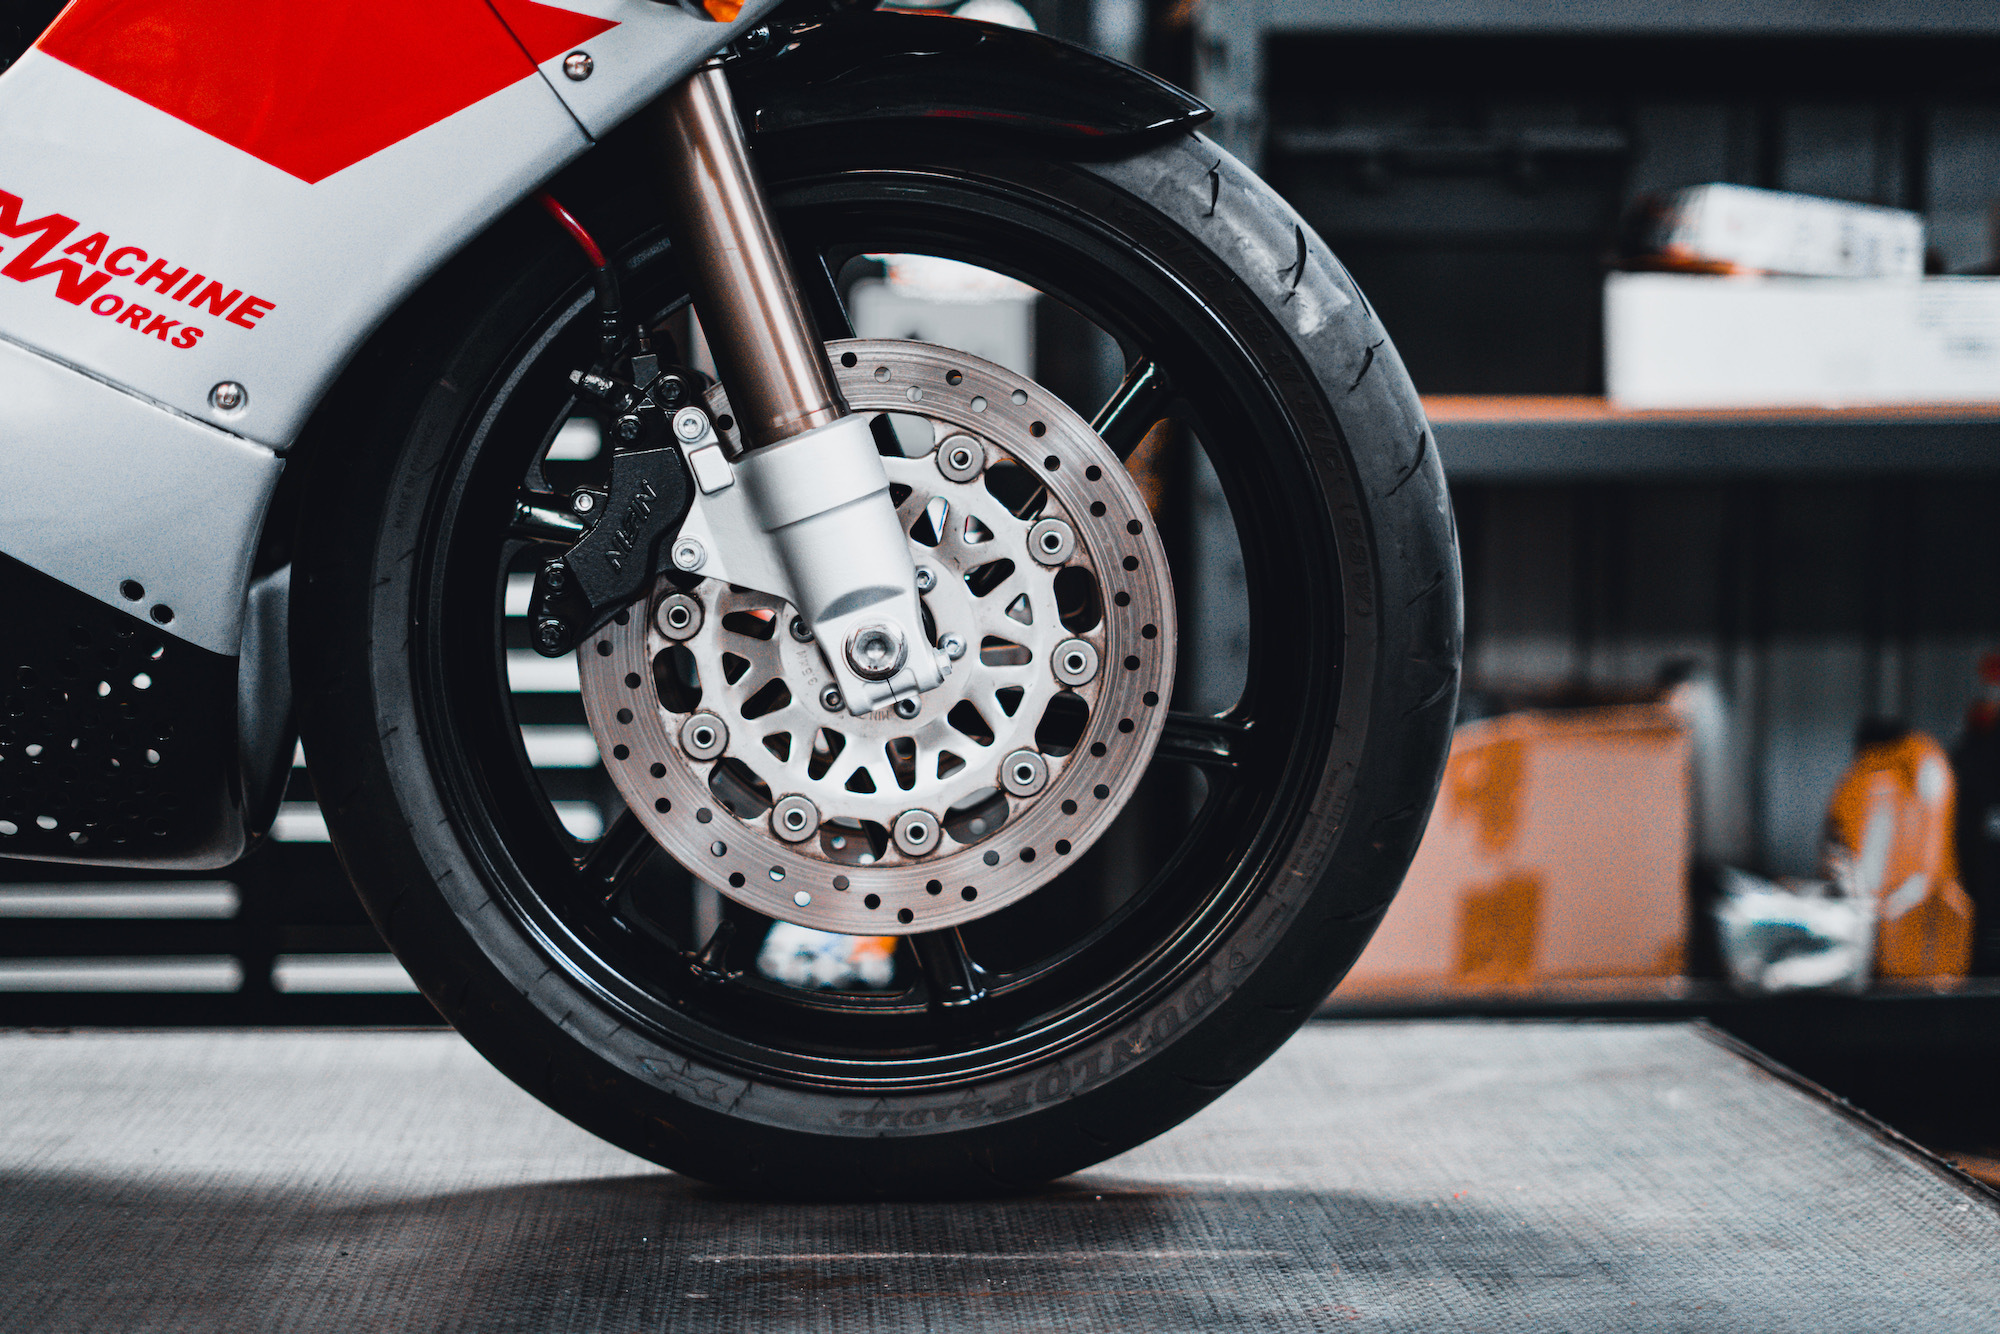
The best pads in the world are only as good as the disc (rotor) they grab hold of, so regular inspection is necessary. First, run your finger across the disc from the centre outwards. If the disc's surface has ridges or a lip on the inner or outer edge of the disc, the brake performance is compromised.
Also, years of use and abuse can warp a brake rotor. You can feel the oscillation from a warped disc through the brake lever. If the disc rotor shows signs of scoring or warping, consult a mechanic to get it changed.
Have you noticed uneven wear on the brake pads? Is the bike pulling to one side when applying the brakes, or is the brake binding? If so, the brake pistons may be sticking or seized.
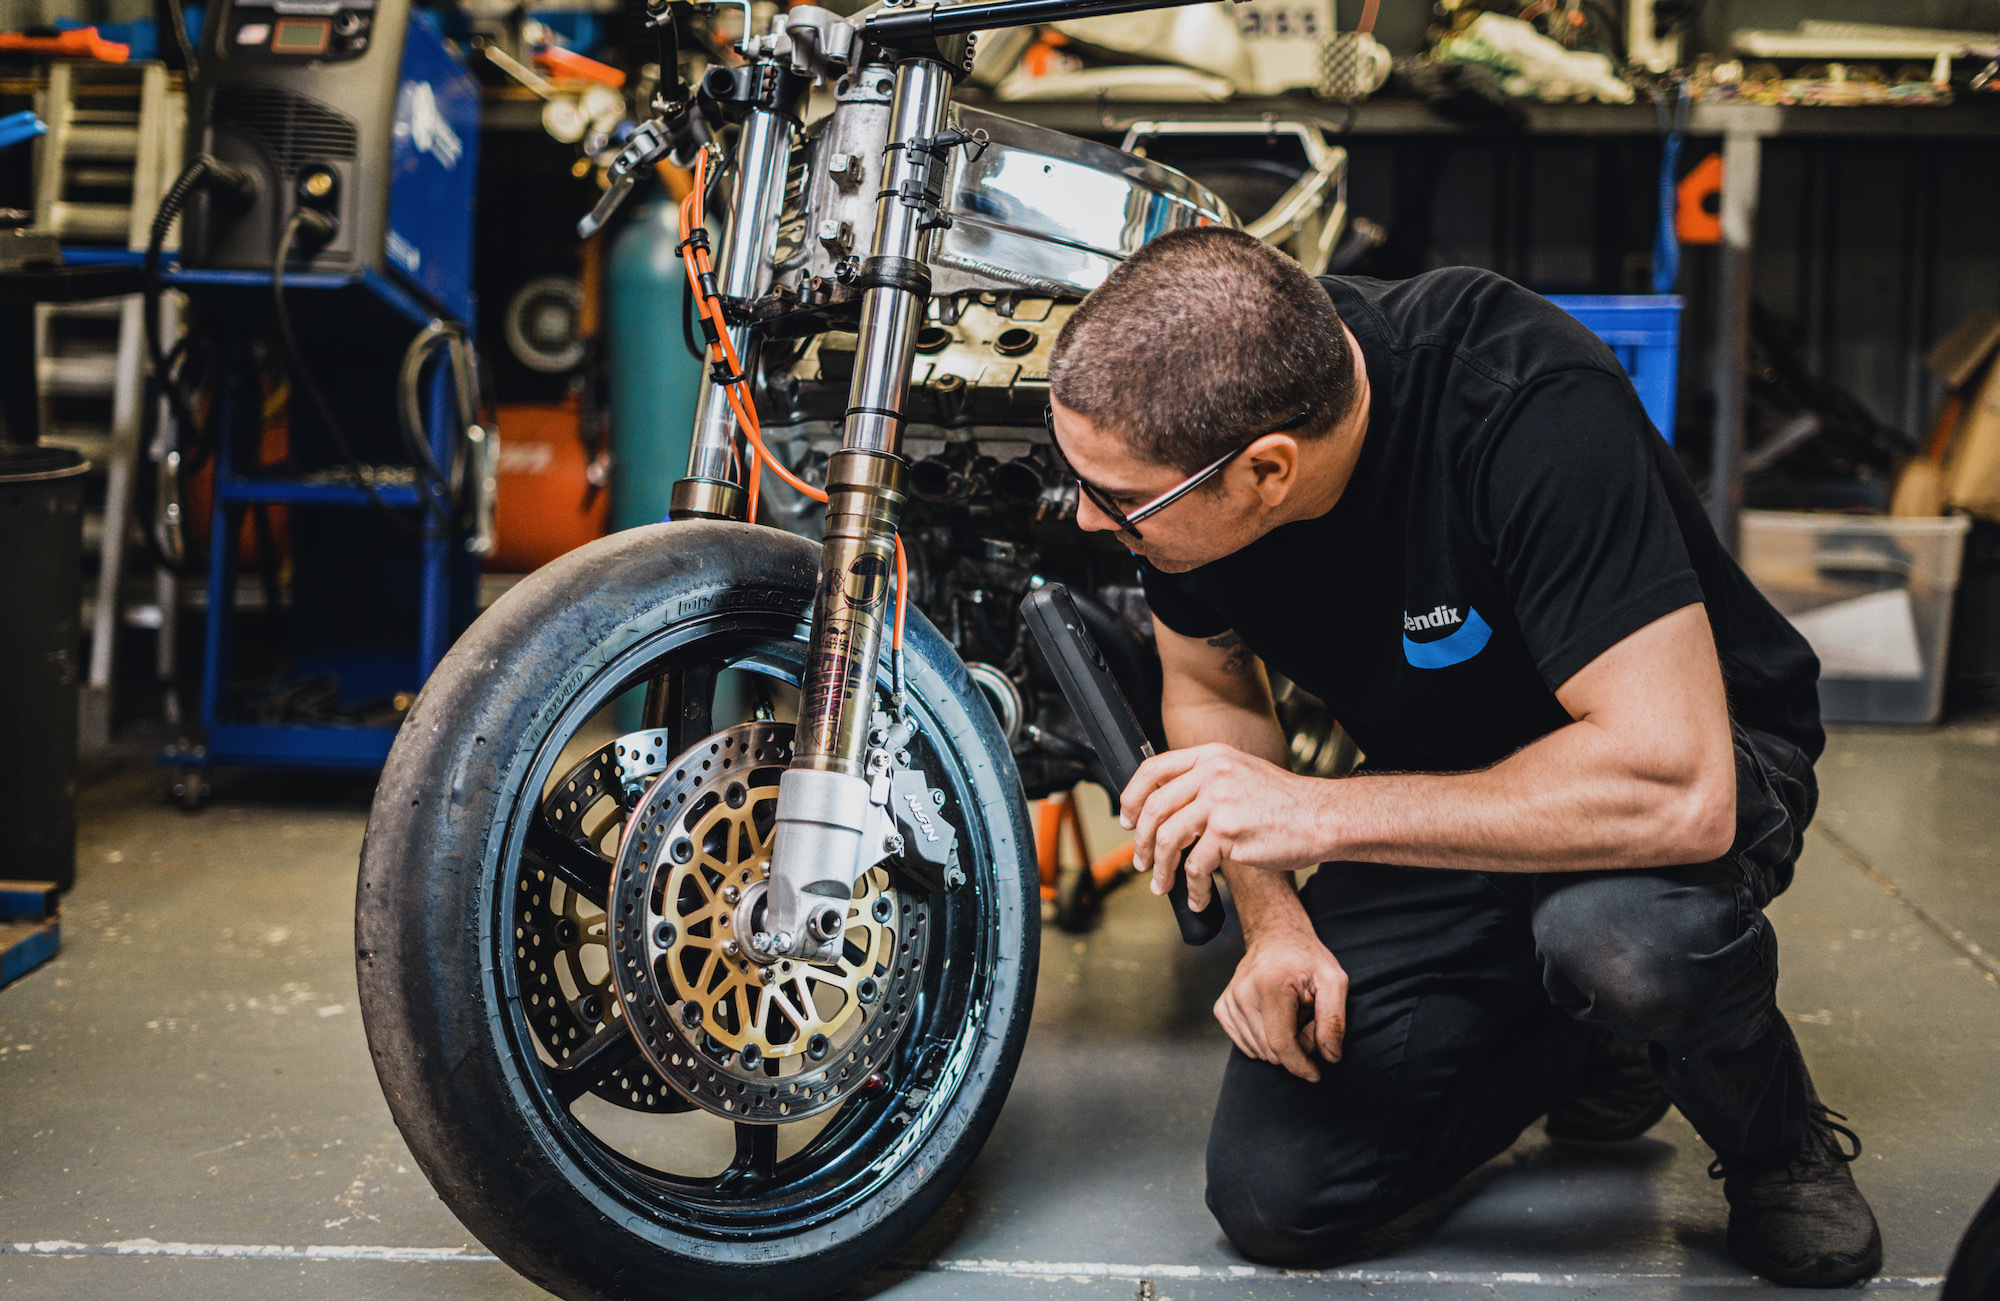
To carry out a quick visual inspection, you will need to get the wheel you're checking off the ground. Then, with your hand, spin the wheel. When applying the brake, the wheel should stop immediately. Next, straight after, spin the wheel again. There's a problem with the brake pistons if you feel any resistance from the wheel or if it won't move at all.
Servicing the brake caliper pistons is another job best left to a trained mechanic.
Brake calipers are pretty bulletproof, so there's not much to go wrong with them other than crash damage. Having said this, when doing a visual inspection, check the securing bolts are tight. Also, there should be no residue or leaks around the brake line banjo.
The bleed nipple should have a rubber cover and you need to keep that area clean. Most Original Equipment Manufacturer (OEM) brake nipples are mild steel. This metal rusts easily, making removing or loosening brake nipples a real challenge.
Whether OEM rubber or aftermarket steel braided, wipe the brake line clean. Then check the entire line length from the reservoir to the calliper.
Look for bends, creases, nicks, leaks or chaffing due to the line rubbing on another component. If any part of the brake line disappears from view behind the steering head or swingarm, keep looking with a torch.
First, check the outside of the reservoir for leaks or misting. All modern brake reservoirs have an inspection window to view the upper and lower limit of the fluid level. This design means removing the cap should be unnecessary. Should you need to remove the cap, cover the paintwork and clean the reservoir body before opening.
When checking brake fluid, the motorcycle should be upright. If you need to top up, consult the owner's manual to find the correct grade of brake fluid and remember to flush and renew brake fluid after two years using Bendix Dot 3 or 4 fluids.
Most times, brake issues are apparent. Sometimes though, by the time they make themselves known, it's already a problem. While some components in the brake system can fail unexpectedly, regular inspection is the best way to keep things in A1 condition. Once again, prevention is better than cure.
Although anyone can carry out a brake system inspection, it's always wise to consult a trained mechanic if you need any work carried out.
BendixMoto Tips & Tricks
Keeping on top of the condition of your motorcycle's braking system is an essential part of safe riding. In this Bendix Moto Technical Video, we look at how to inspect your motorcycle brake system!