How To Replace Your Motorcycle Brake Pads
April 26, 2024
Tips & how-to guides
Keeping a close eye on your motorcycle's braking system is essential, not only when it comes to safety, but also performance and, at the end of the day, rider enjoyment. One of the biggest things to keep an eye on is your motorcycle’s brake pads. Over time, brake pads wear down, and in this article, we run through a general guide on how brake pads on motorcycles are replaced. As always, we recommend having a qualified technician service your motorcycle’s braking system.
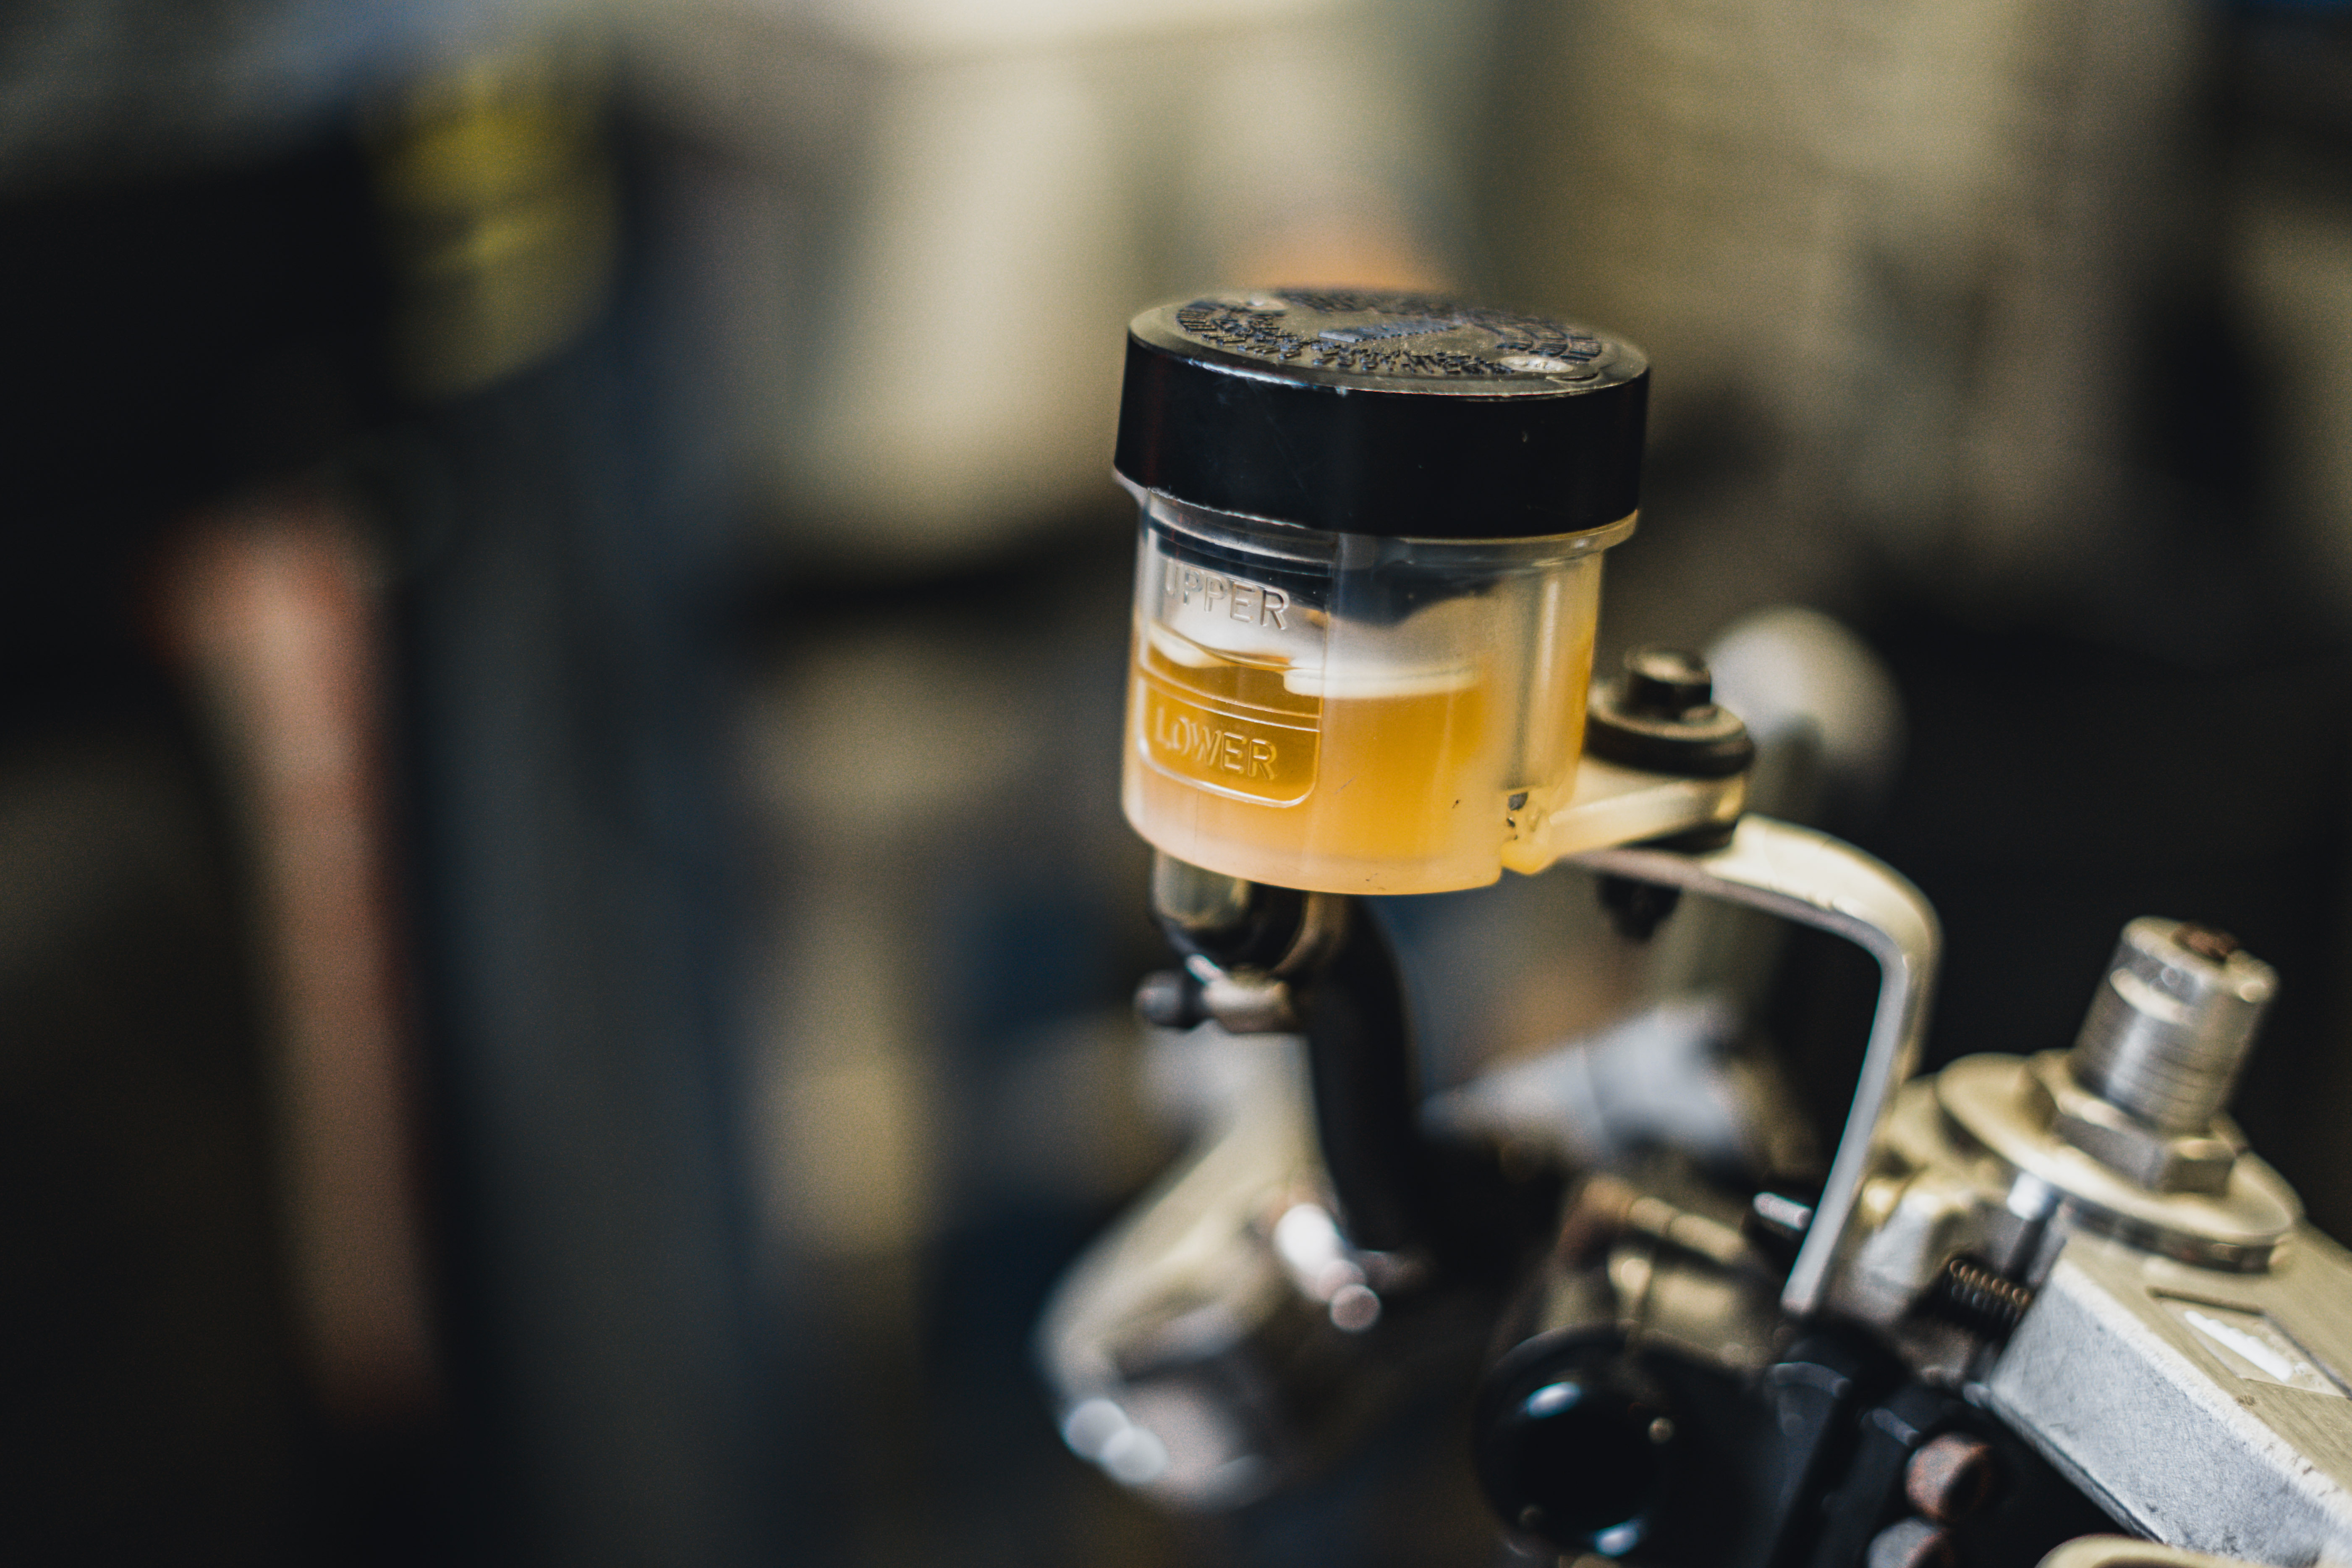
First, make sure that your motorcycle is parked on a level and stable surface, ensuring it won't move during the process. Also, open the brake fluid reservoir and check the fluid level. If it's close to the maximum mark, you may need to remove some fluid to prevent overflow when compressing the caliper piston later on.
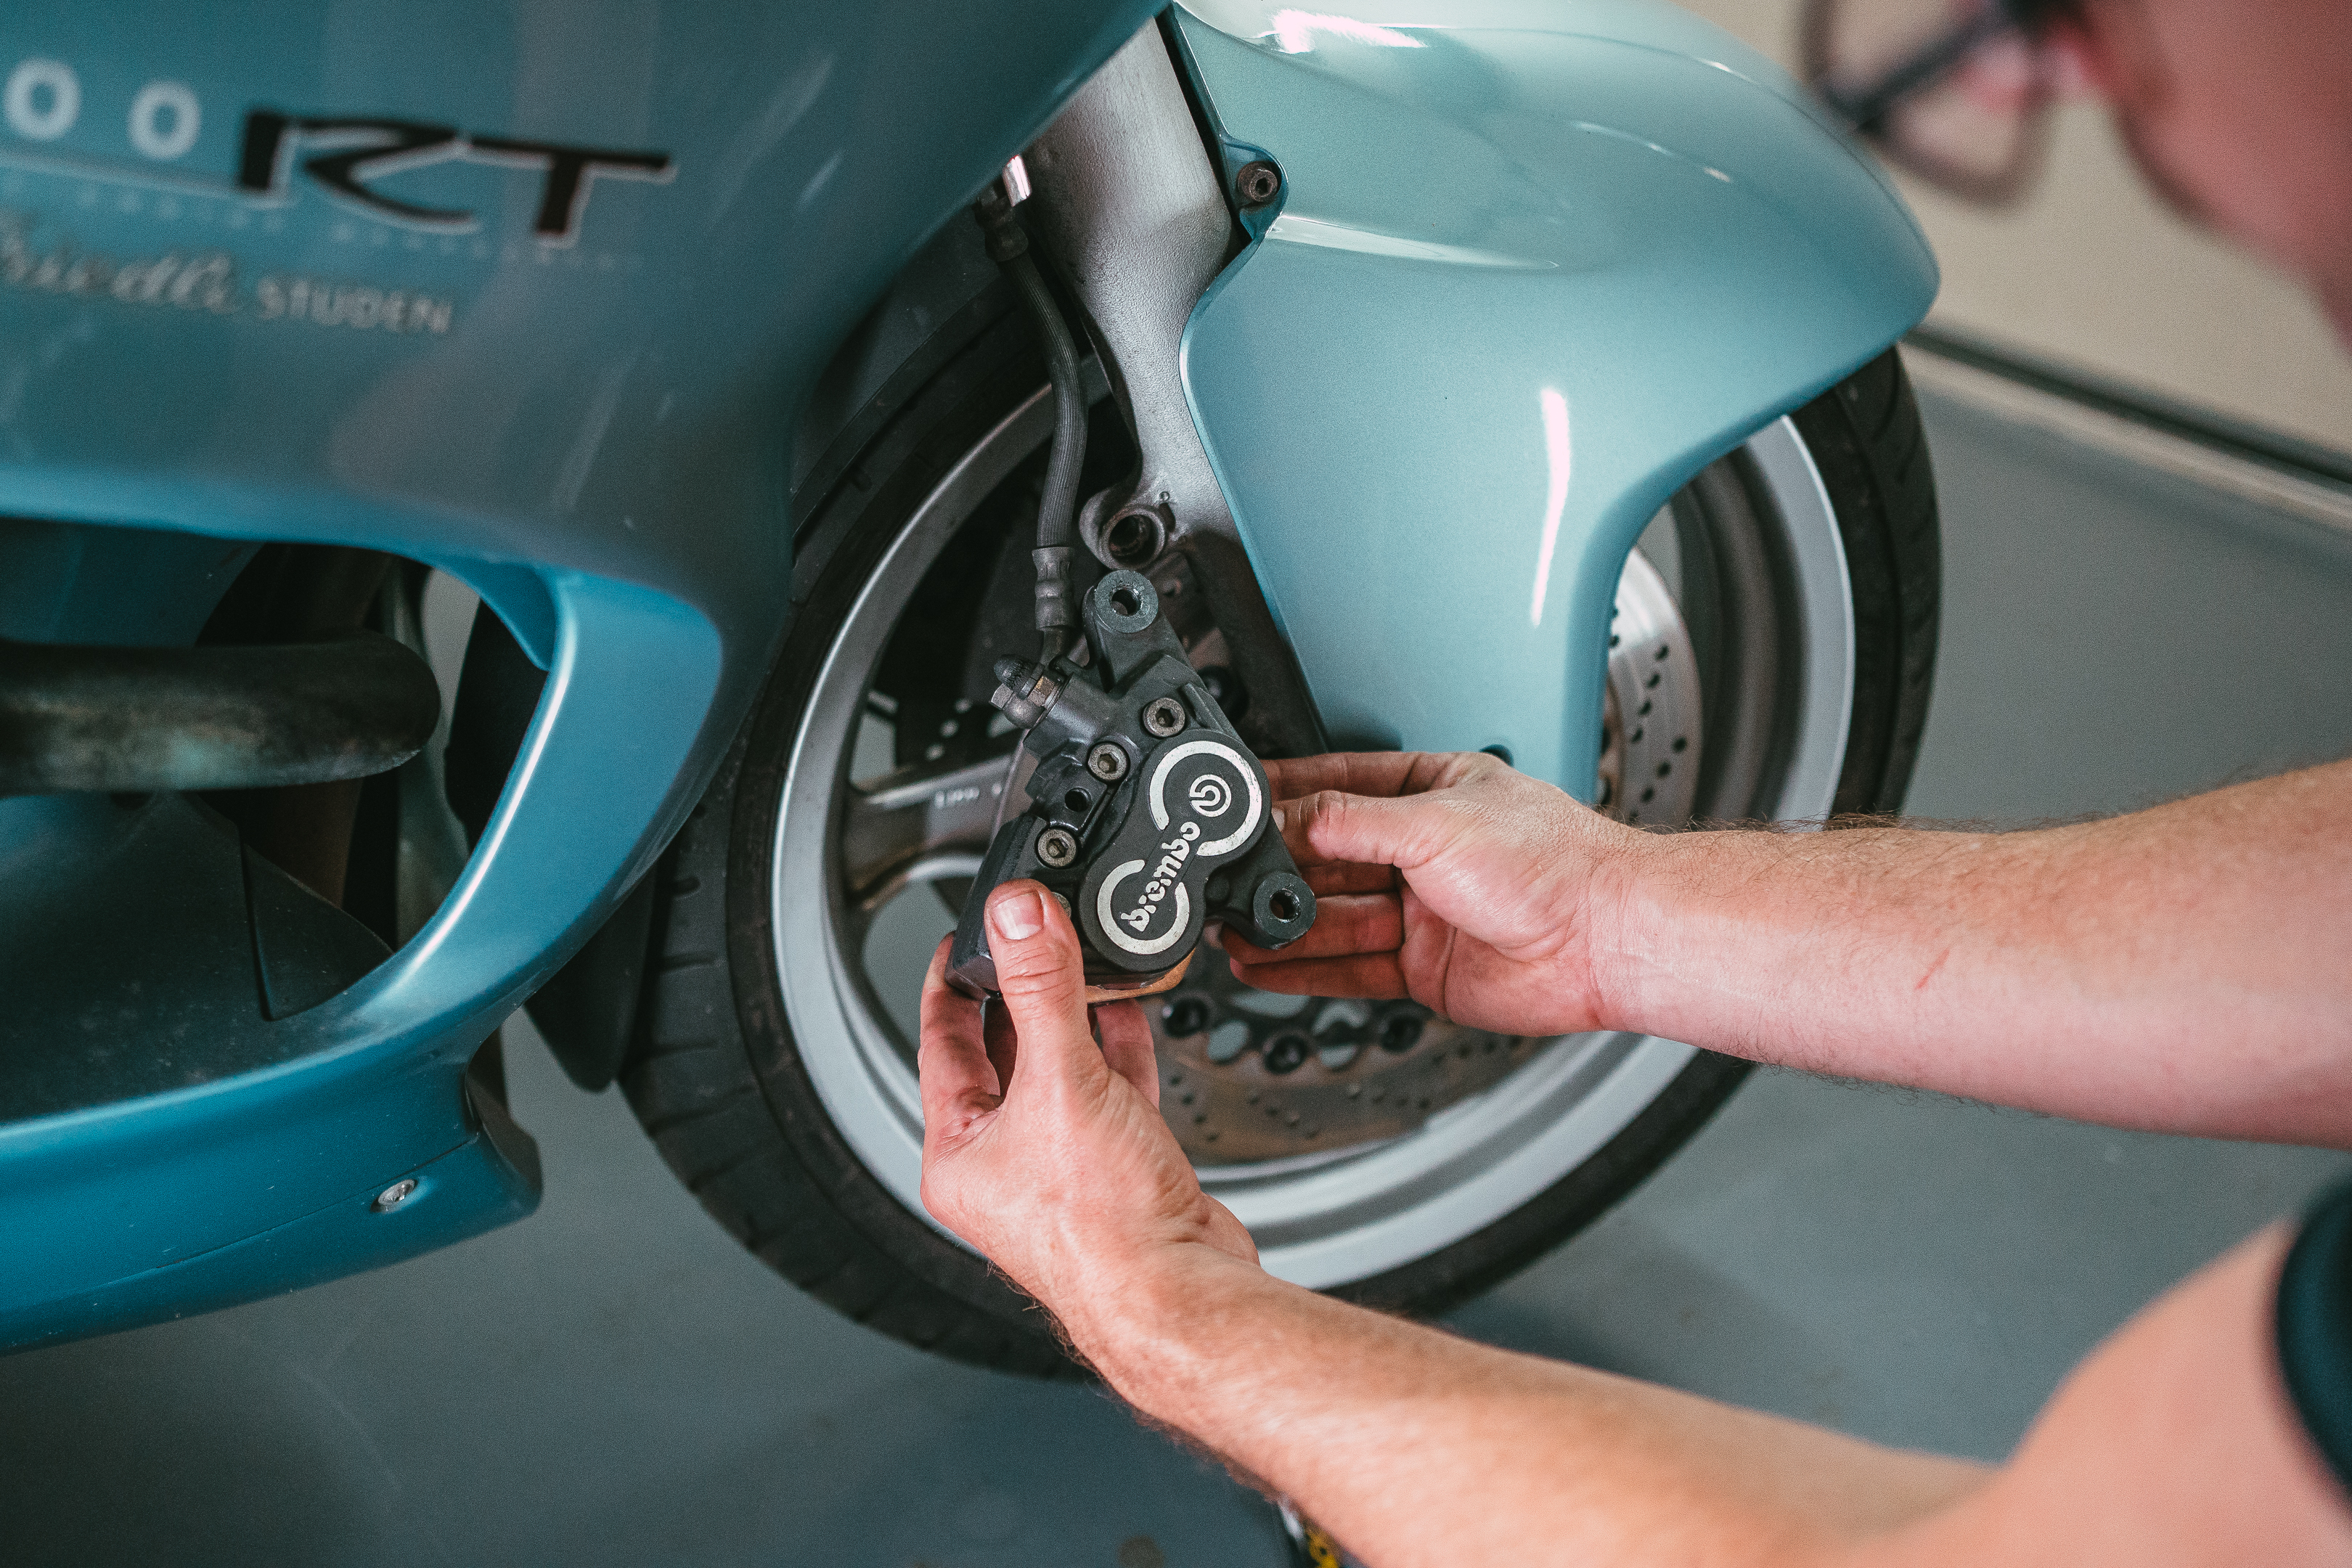
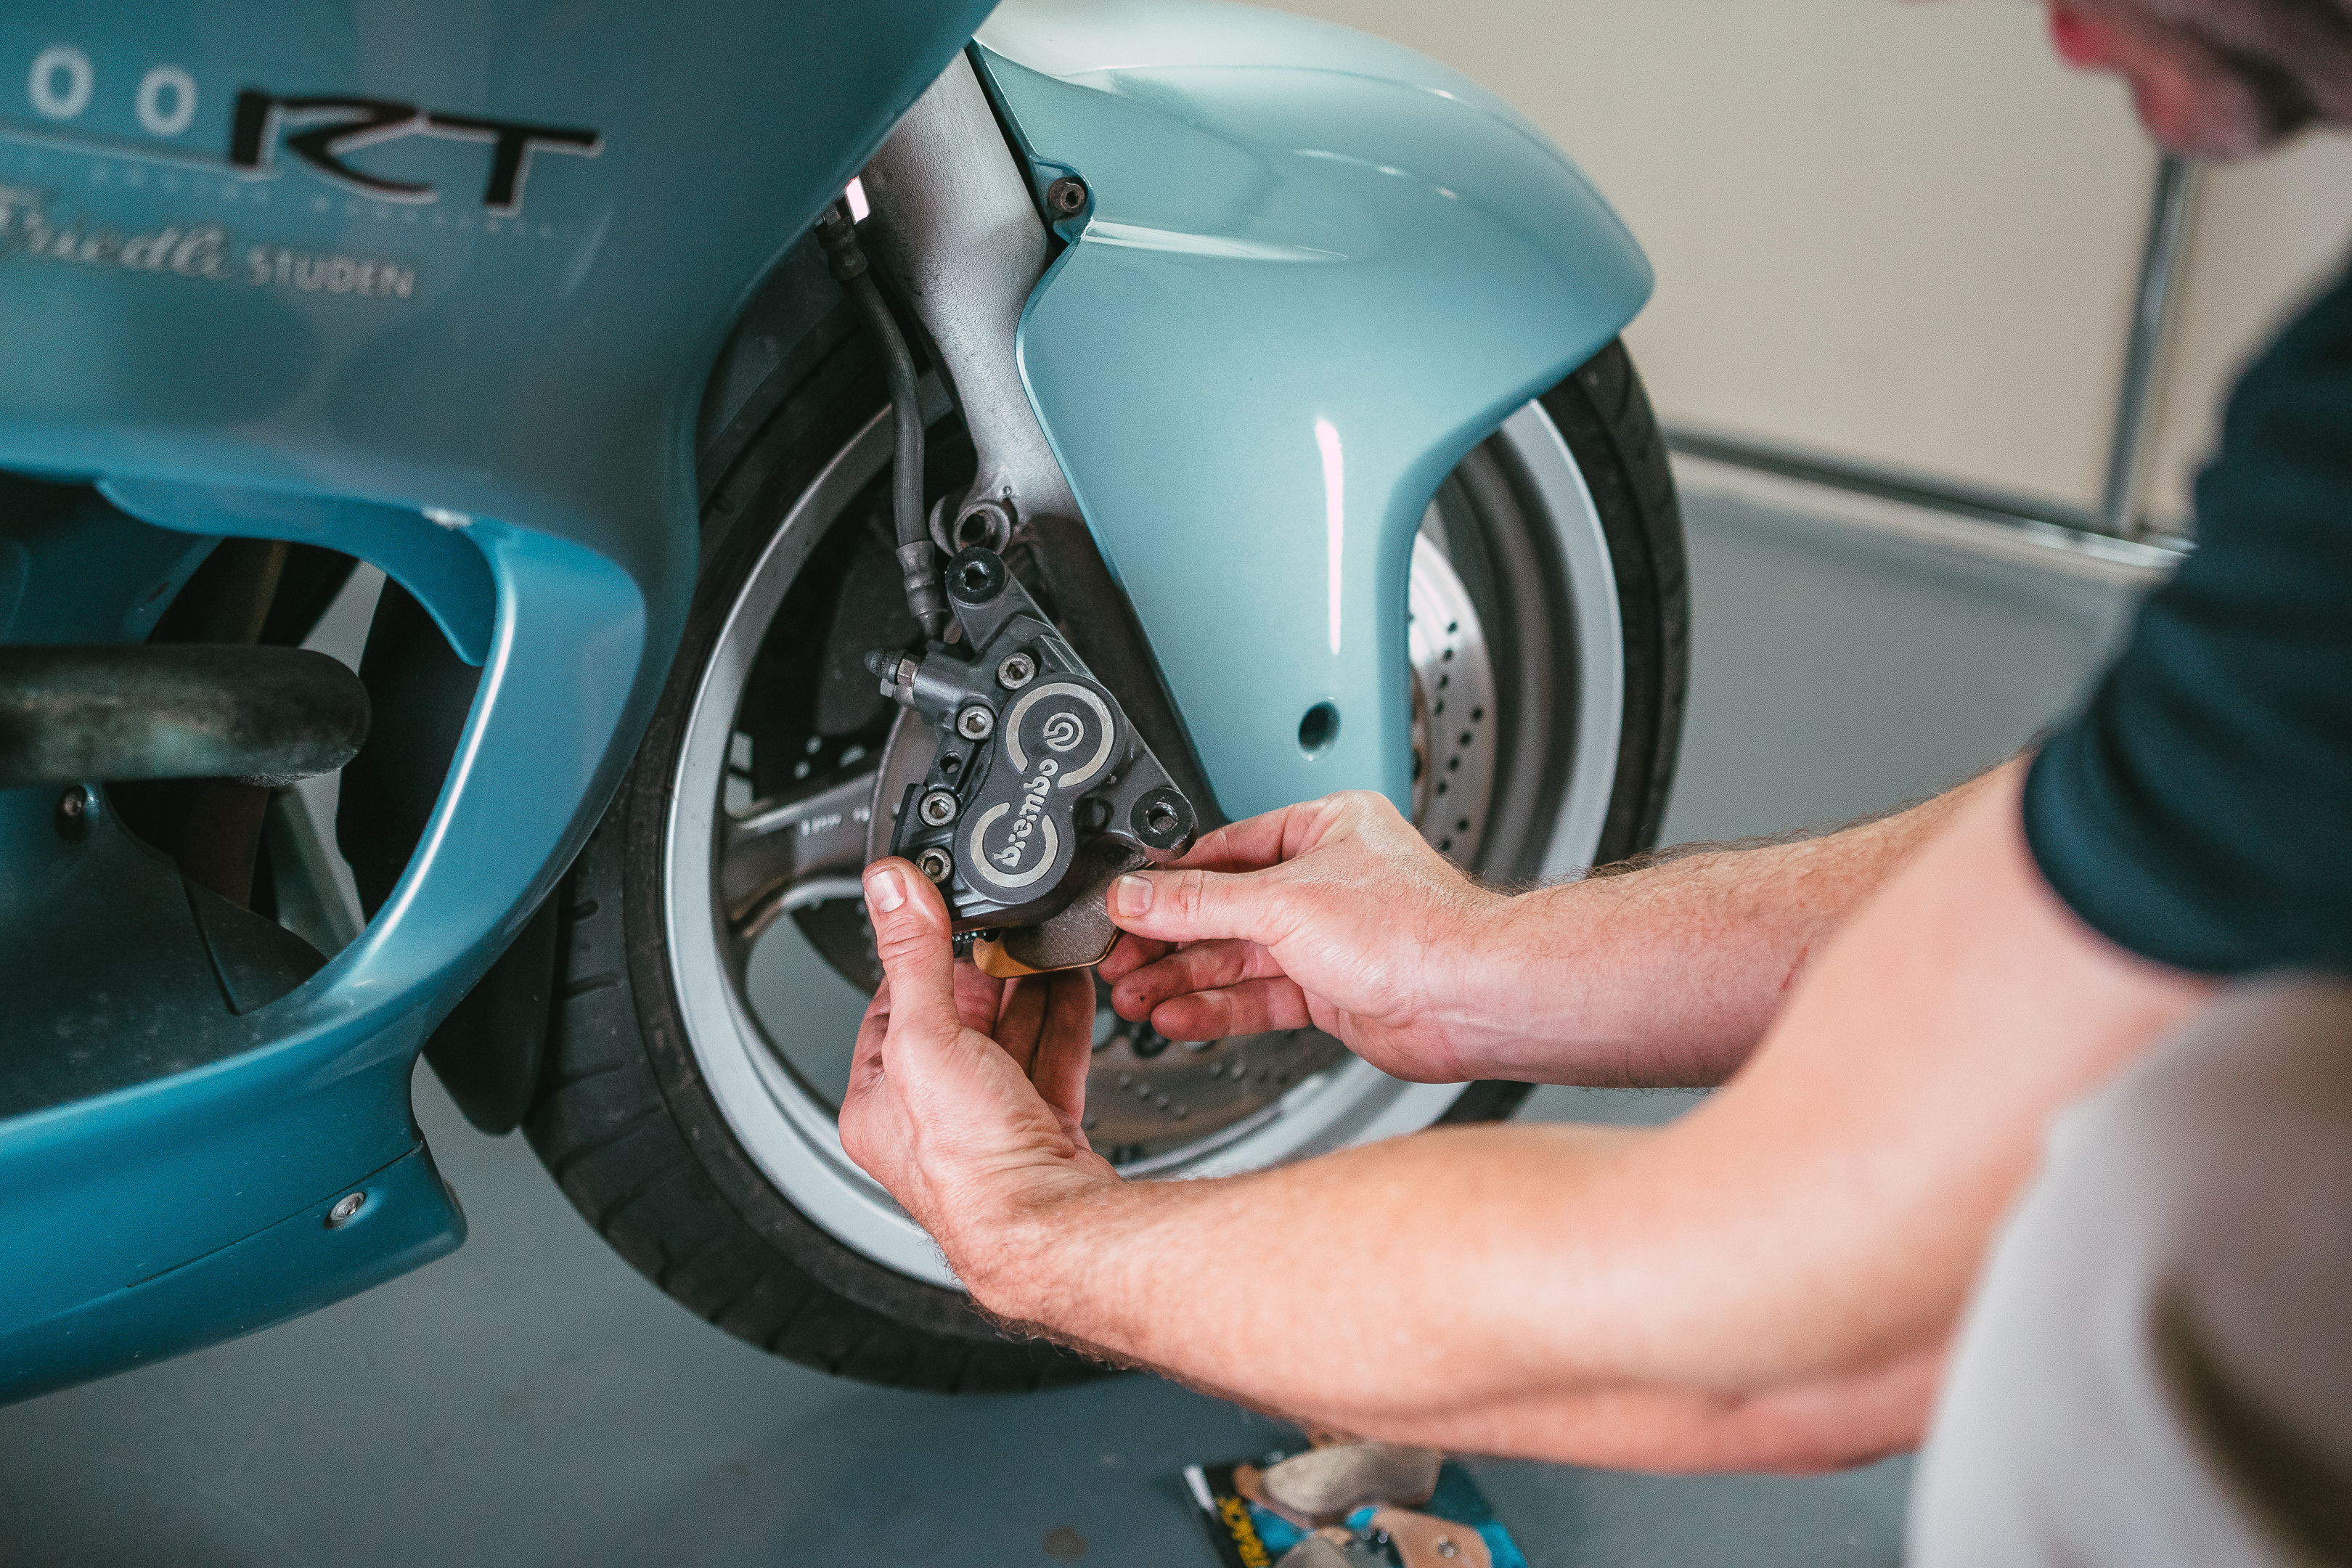
From there, loosen the bolts that secure the caliper that you’re working on onto its mounting bracket. Some use retaining bolts to hold the brake pads in, so be sure to loosen these before removing the caliper completely as the retaining bolts can be difficult to crack once the caliper has been removed.
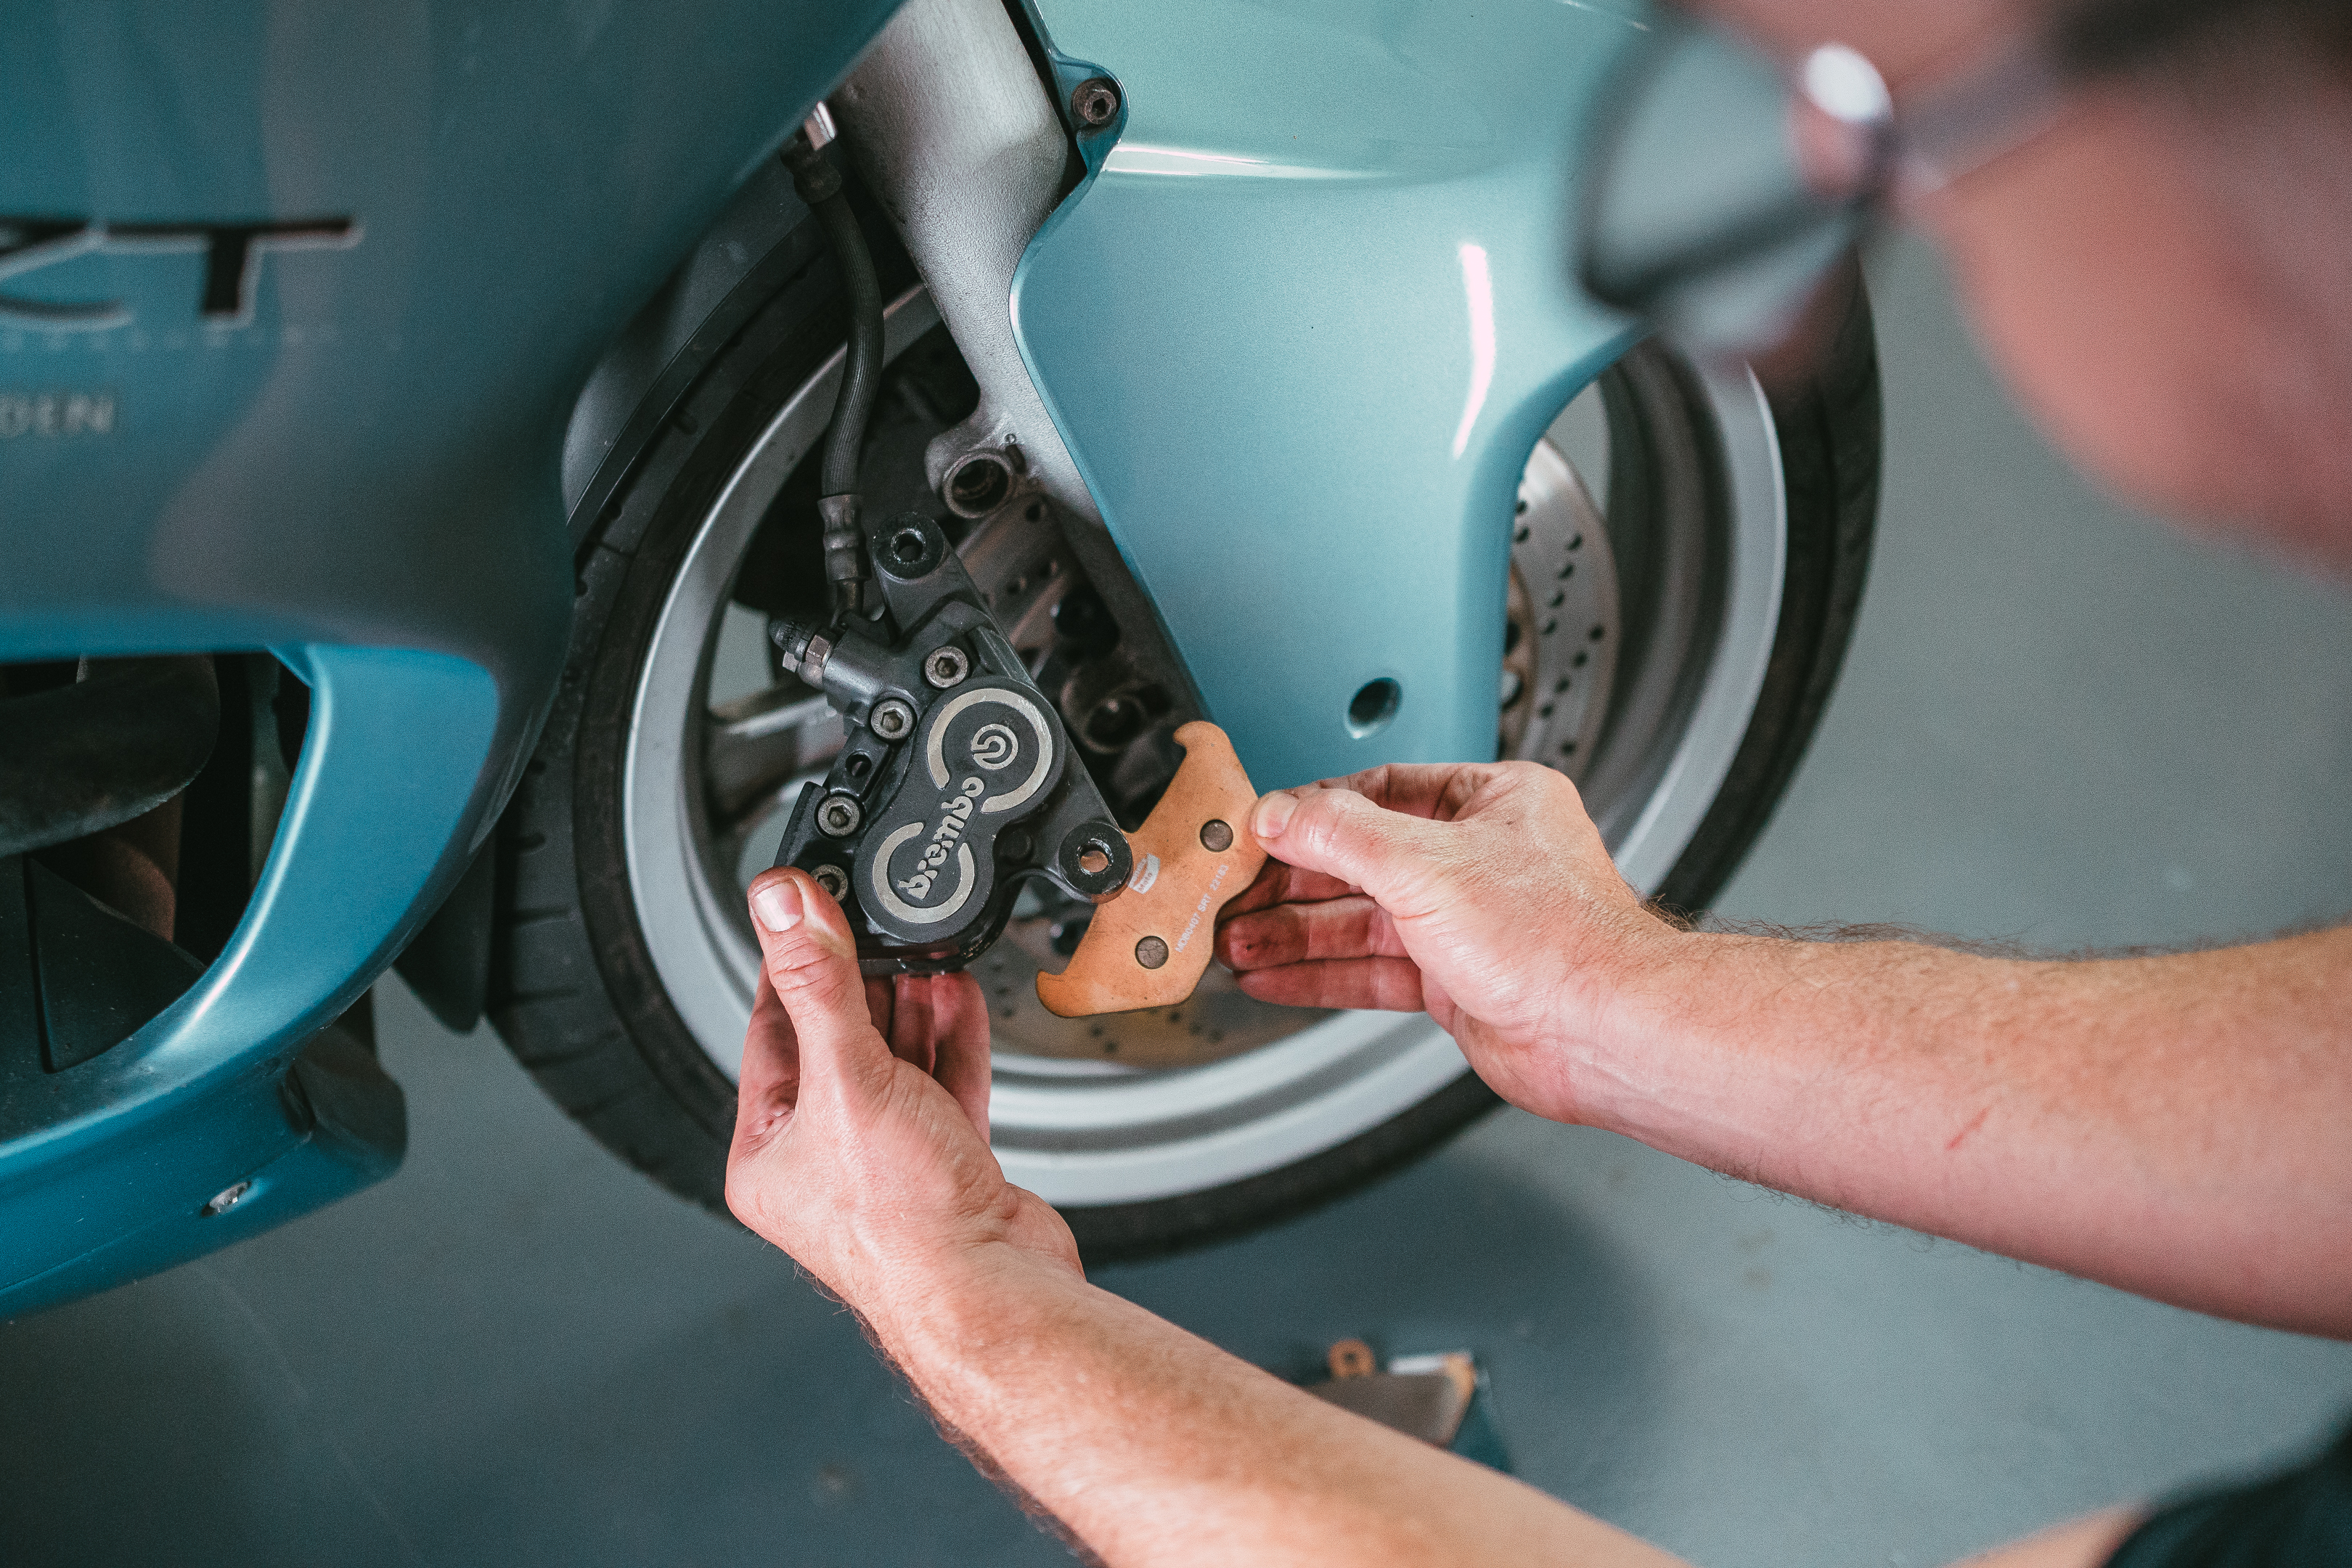
Once you’re ready to remove the caliper, slide it off its bracket carefully and hang it using a hook or some wire to avoid putting stress on the brake line. Next, remove any retaining clips or pins that hold in the brake pads and slide the pads out of the caliper. At this point, it’s a good idea to check the wear on your disc rotors and inspect the brake pads for any uneven wear that could point to other issues with your motorcycle’s braking system. If you notice any signs of uneven wear, visit our article on diagnosing uneven brake pad wear here.
To install your new brake pads, first apply a thin layer of high-temperature brake grease, such as our Bendix Ceramasil Disc Brake Lubricant, to the back of the new brake pads.
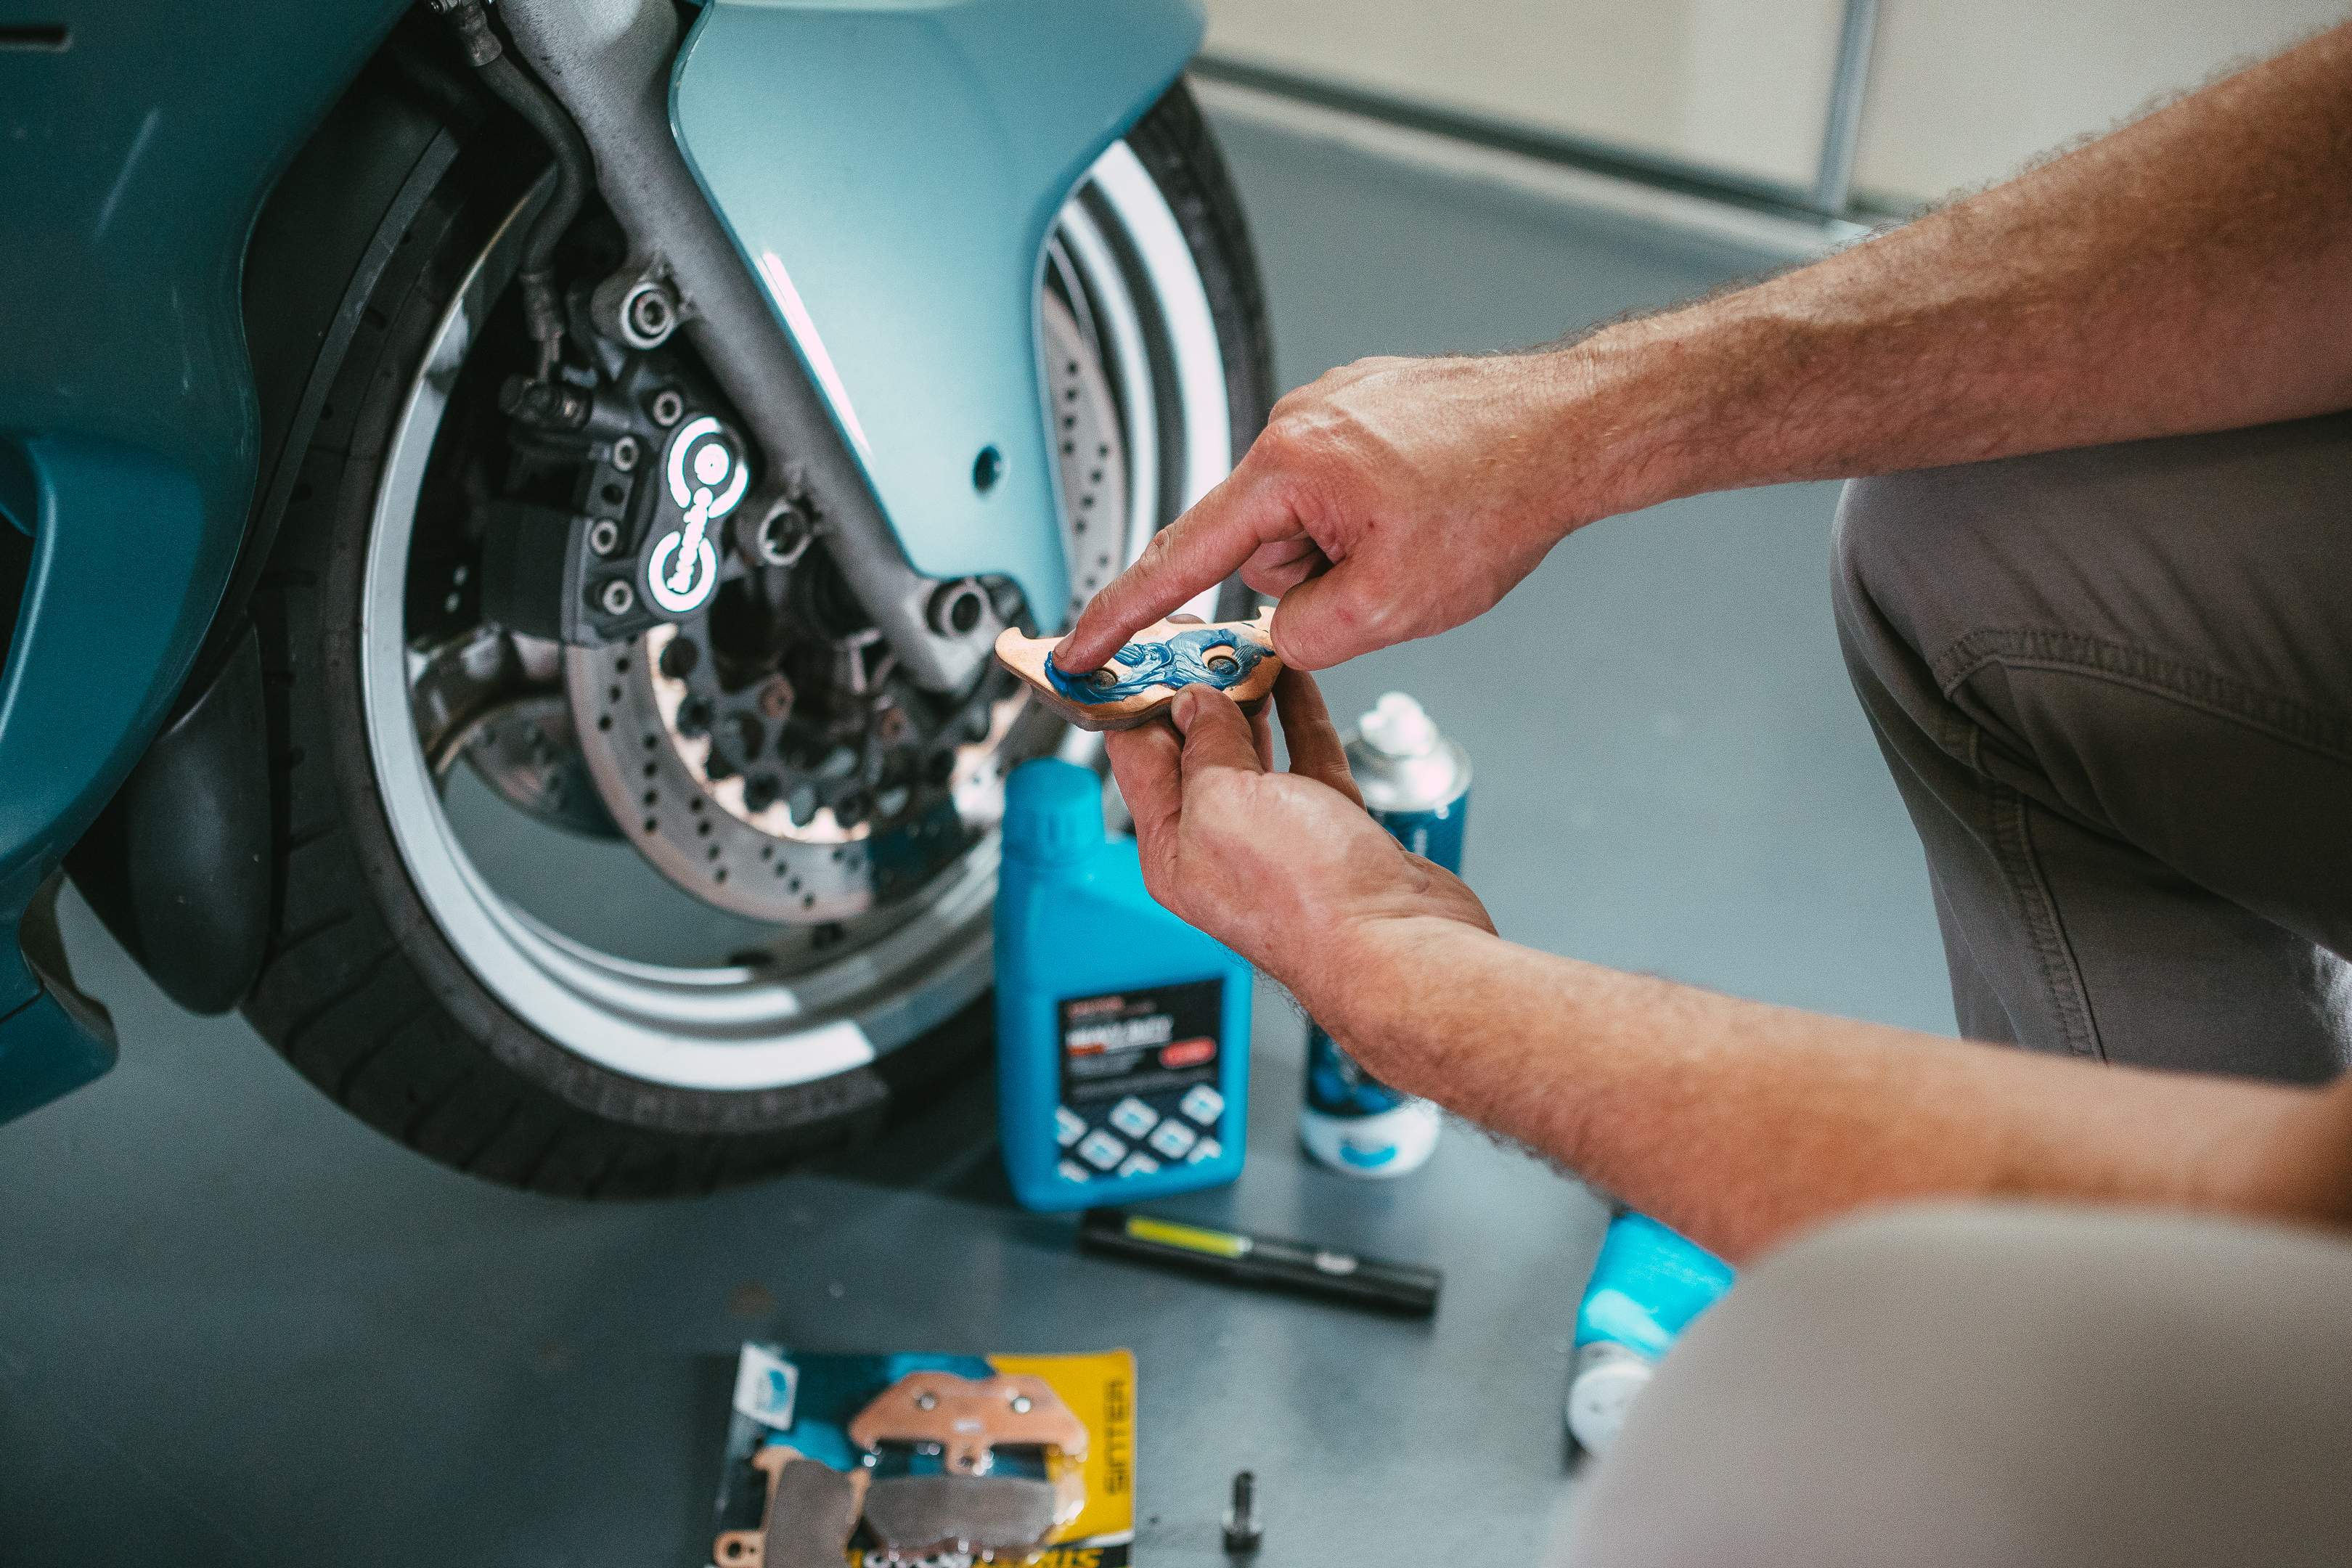
From there, slide the new brake pads into the caliper bracket, ensuring that the pads are correctly positioned, with the friction material facing the brake rotor.
Next, reinstall any retaining pins or clips that were removed earlier. Before reinstalling the caliper, you will need to compress the caliper pistons back into their housing using a dedicated brake caliper piston tool. Otherwise, you may find that the caliper won’t fit over the rotor on account of the new, thicker brake pads.
With the new brake pads fitted, you can now reinstall the caliper to its mounting bracket. Position the caliper over the rotor and slide it back onto its mounting bracket. From there,tighten caliper bolts according to the manufacturer’s torque specifications.
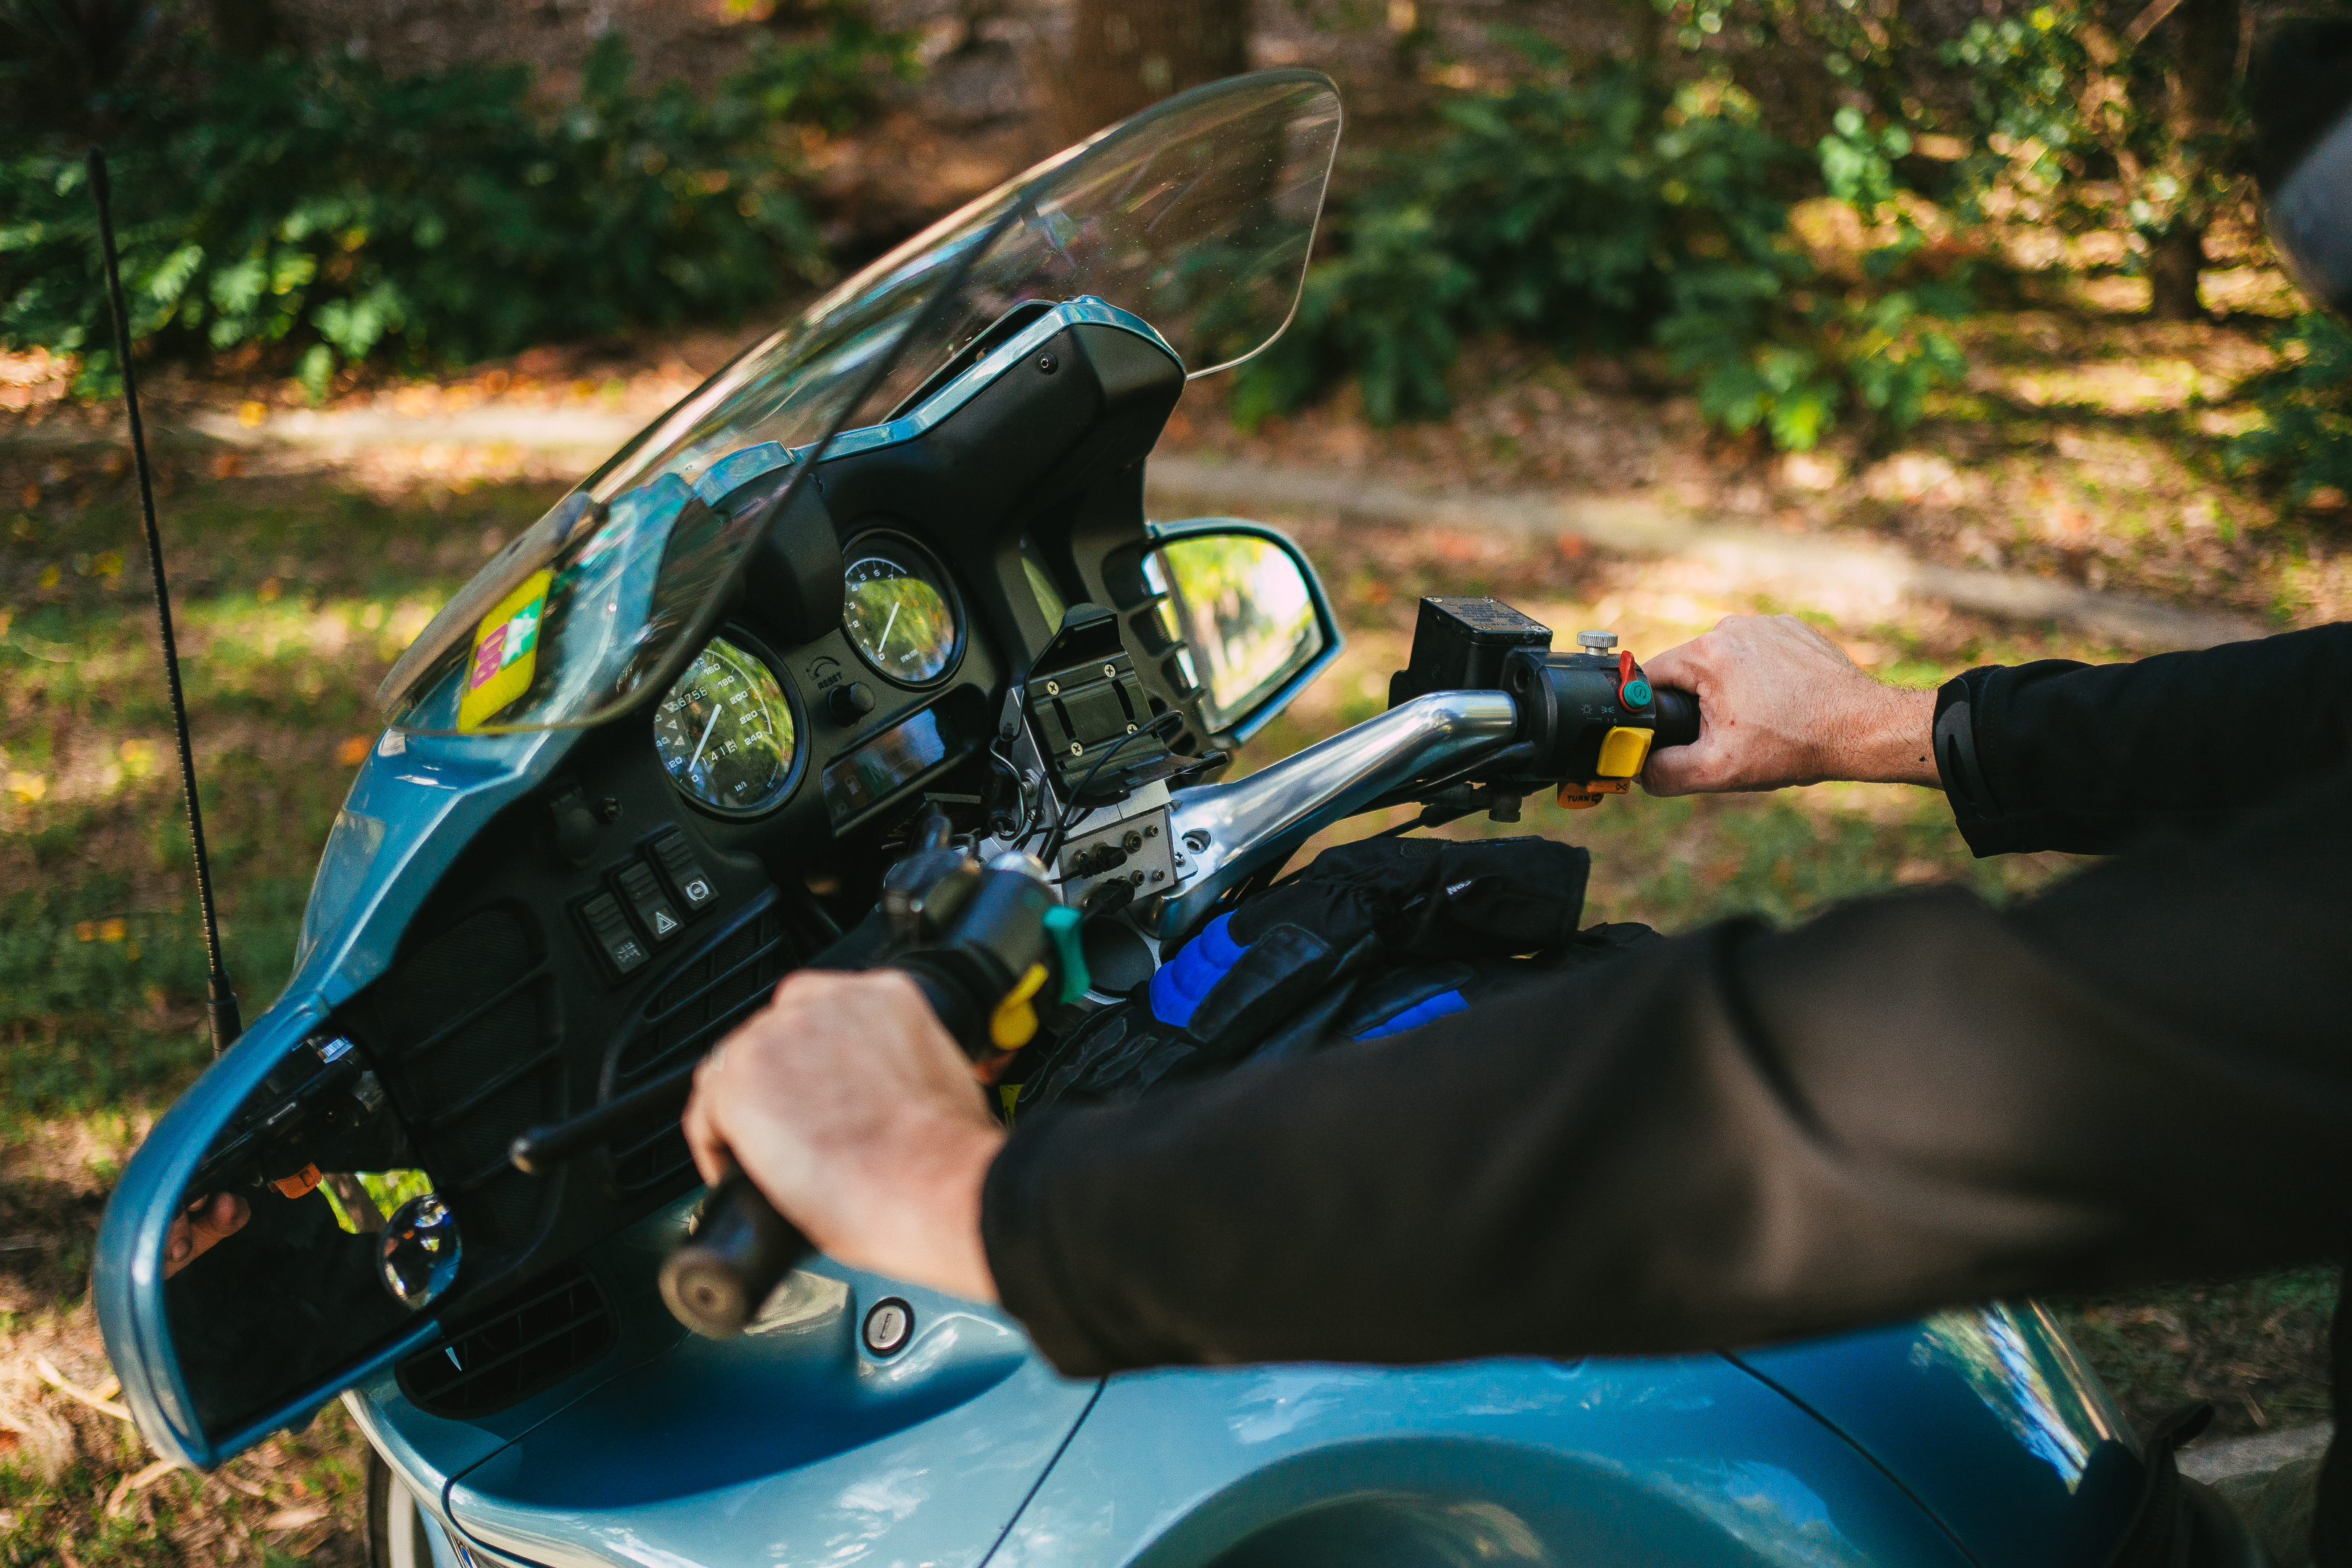
With everything buttoned back up, be sure to top up your brake fluid reservoir with the correct specification fluid if you removed any earlier on. Before setting on your first ride with your new brakes, pump the brake lever to ensure proper brake pad engagement, and you’re ready to go for a road test.
Keeping on top of your motorcycle's braking system is essential for maintaining optimal braking performance and ensuring your safety on the road. When it comes time for your next brake service, Bendix Moto’s range of Street Road Track and Ultimate+ brake pads cover a wide range of makes, models, and riding styles – whether it be performance riding or commuting.
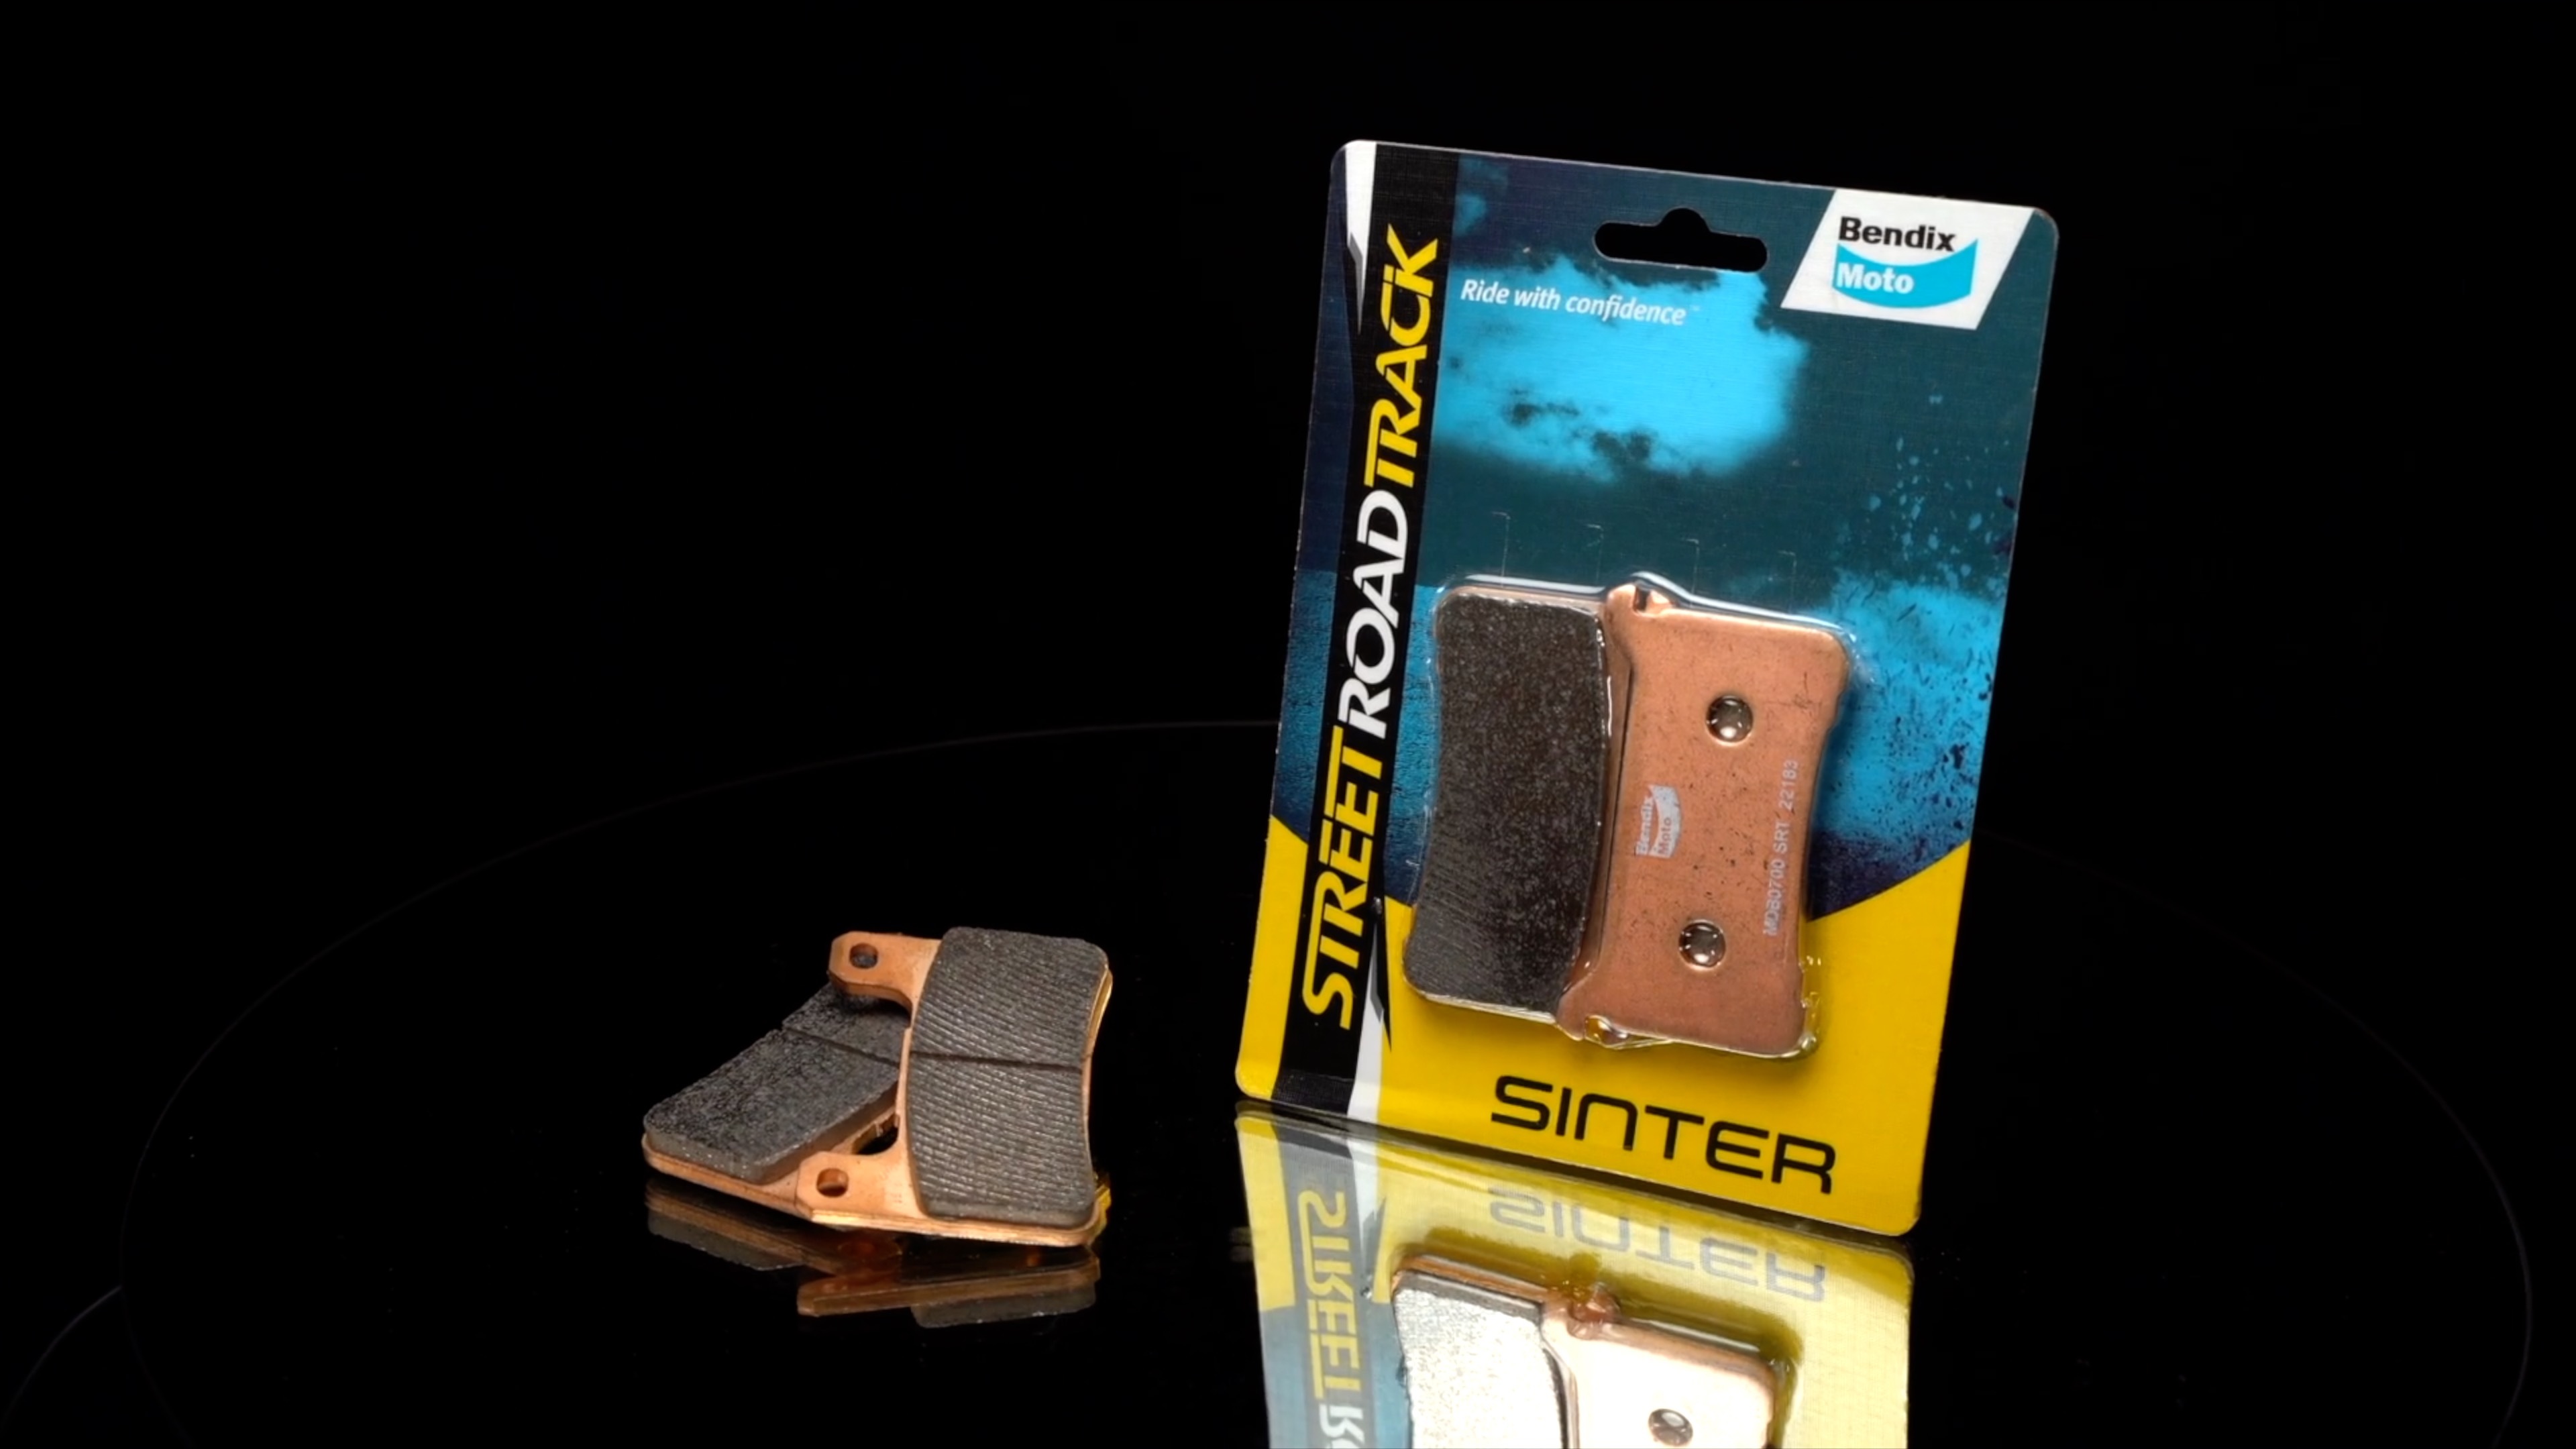
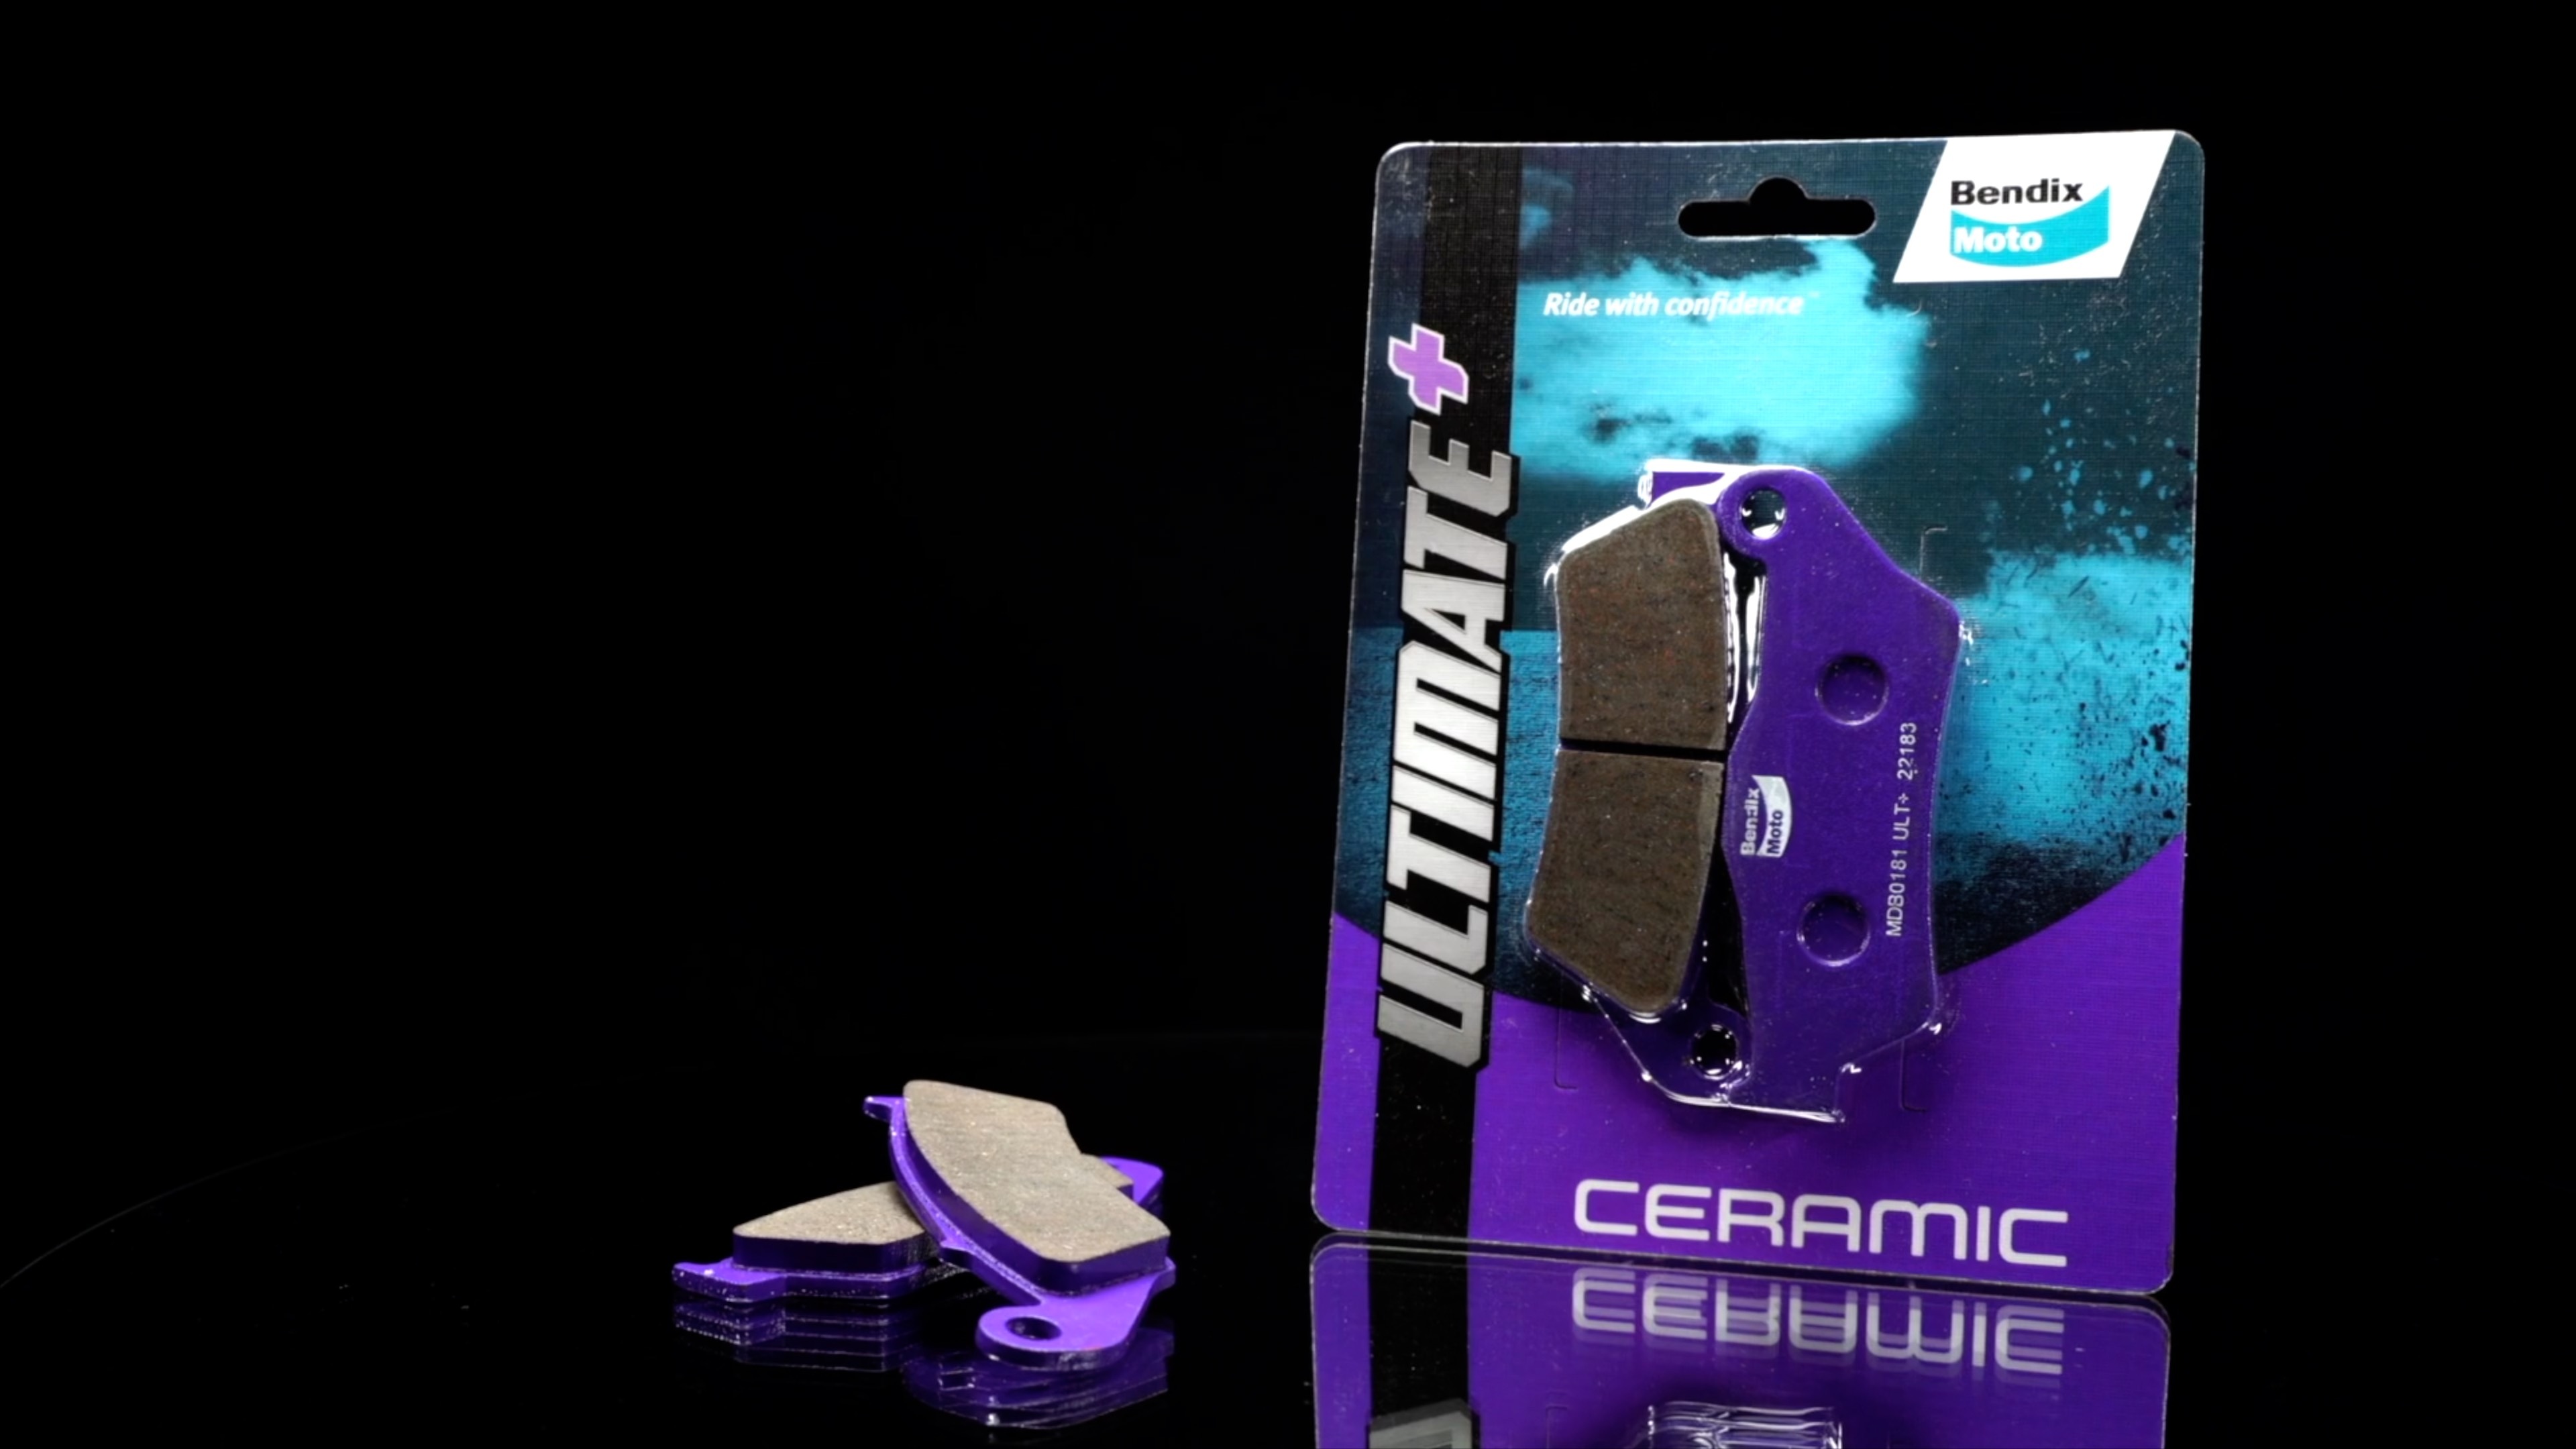
Check out Bendix Moto’s range of Street Road Track and Ultimate+ brake pads on our website at the link below and ride with confidence.
For more information on Bendix Moto products, click HERE.
To find your Bendix Moto brake pads, click HERE.
For the latest Bendix Moto news and updates, visit our Facebook page.